>> Visit the updated Wise Integration guide.
Using Wise for cross border payments, saves you money on bank fees and it saves you time and hassle.
Note: You need a Wise Business account. You can use our referral link to sign up.
The time that is tracked in Timesheetr can also be used to pay team members. As long as they’re on an hourly rate, you can pay them, anywhere around the world!
The first time you quickly set it up, and from then on, things will run so smooth, you wish you had known about this sooner!
First time only
- Turn Wise on in Timesheetr. On the Account Settings page on the Wise tab, enable it and hit save;
- Enter source currency, which is in many cases USD, but you can also enter EUR or something else, this depends on which Wise account you want to pay from;
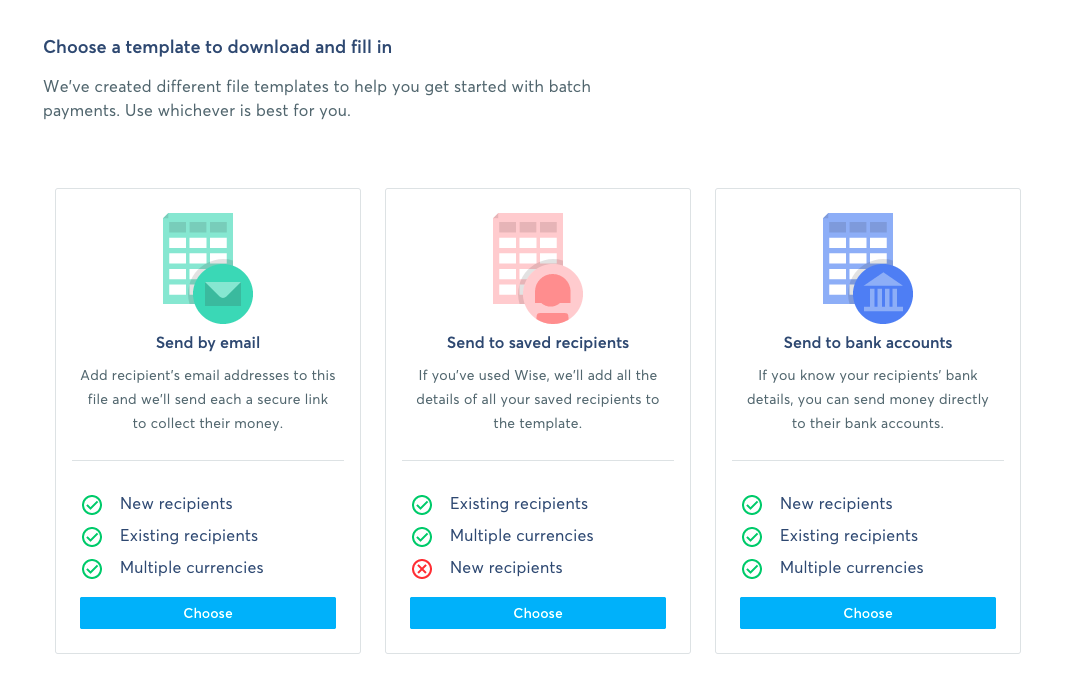
- Download the Saved Recipients template from Wise https://wise.com/template-instructions/templates/ — see pictures below;
- Open the CSV with Excel or Numbers (Mac) and you will see all RecipientIds for you in the first column! You add these ID’s in Timesheetr on the Team Settings page for each user that you want to pay with Wise;
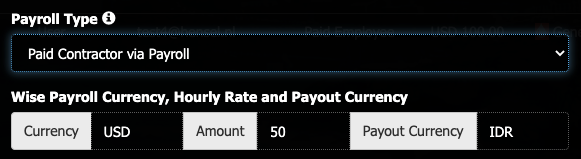
- Also add their hourly rate and currencies, for example, if their rate is 50 USD and paid in Indonesia, then you would enter Currency USD, Amount 50, Payout Currency IDR (the local currency in Indonesia).
- That’s it!


Every Payday
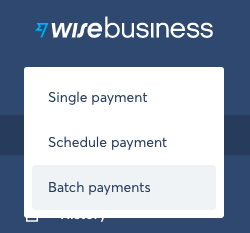
- Go to the Payday page and click Download Wise CSV;
- In Wise https://wise.com/batch/ you can drop the file to get started;
- Be sure to check if everything looks good and pay everyone with one click.