Typical Setup
Billing, Payroll and Billing rate
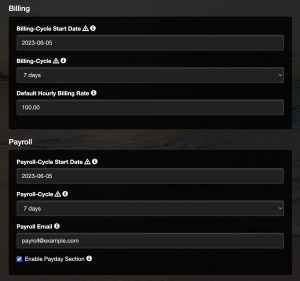
A typical set up starts on the Settings > Account > Organization page. Make sure you enter your organization’s Billing start date (eg. last Monday) and billing cycle duration (eg. 7 days). Then enter the Payroll start date (eg. last Monday) and duration (eg. 7 days). We start our billing cycle on Monday, that way we can use Monday to send invoices.
You can also enter your organization’s default Billing rate. This can be overridden for each project, user and even on a project/user basis.
Connect to Basecamp (optional)
If you are already using Basecamp, you want to Connect to Basecamp to pull in projects and to-do items.
Note: Only the Timesheetr account owner can do this.
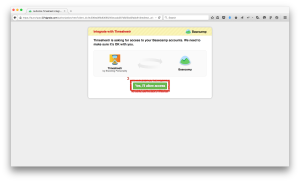
Make sure you are logged in as the owner of your Basecamp account on Basecamp before you start the connection process.
On the Settings > Account > Basecamp tab, click “Connect” to set up a connection with Basecamp. After it’s connected, the same button will show “Connected”.
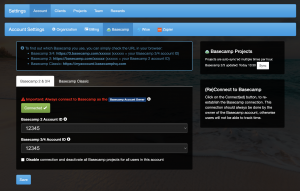
You will see a confirmation message at the top of the screen indicating success.
Add projects
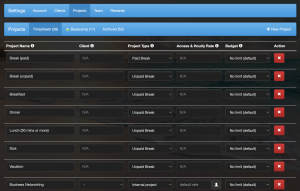
If you use Basecamp your projects are already pulled in by now. But you still want to review and edit the Timesheetr projects. This is where you can add any projects that are not in Basecamp, such as lunch, break, vacation etc.
If you don’t use Basecamp, you can add all your client projects here.
Visit Settings > Projects and add Projects by clicking the “+ New Project” button in the top right.
If you edit any projects, click Save at the bottom.
Add clients (optional)
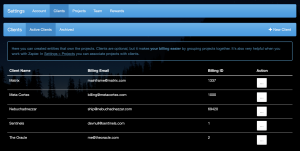
You can manage Clients on the Settings > Clients tab.
You can then use these clients on the Settings > Projects tab to associate them with projects.
If you use Zapier to create invoices, be sure to fill out the optional fields for each client (Billing ID and Billing Email).
Basecamp projects can be associated with Timesheetr clients, by using the following format for the Basecamp project name (using a colon : between the client and project name).
Client name: Project name
Add colleagues
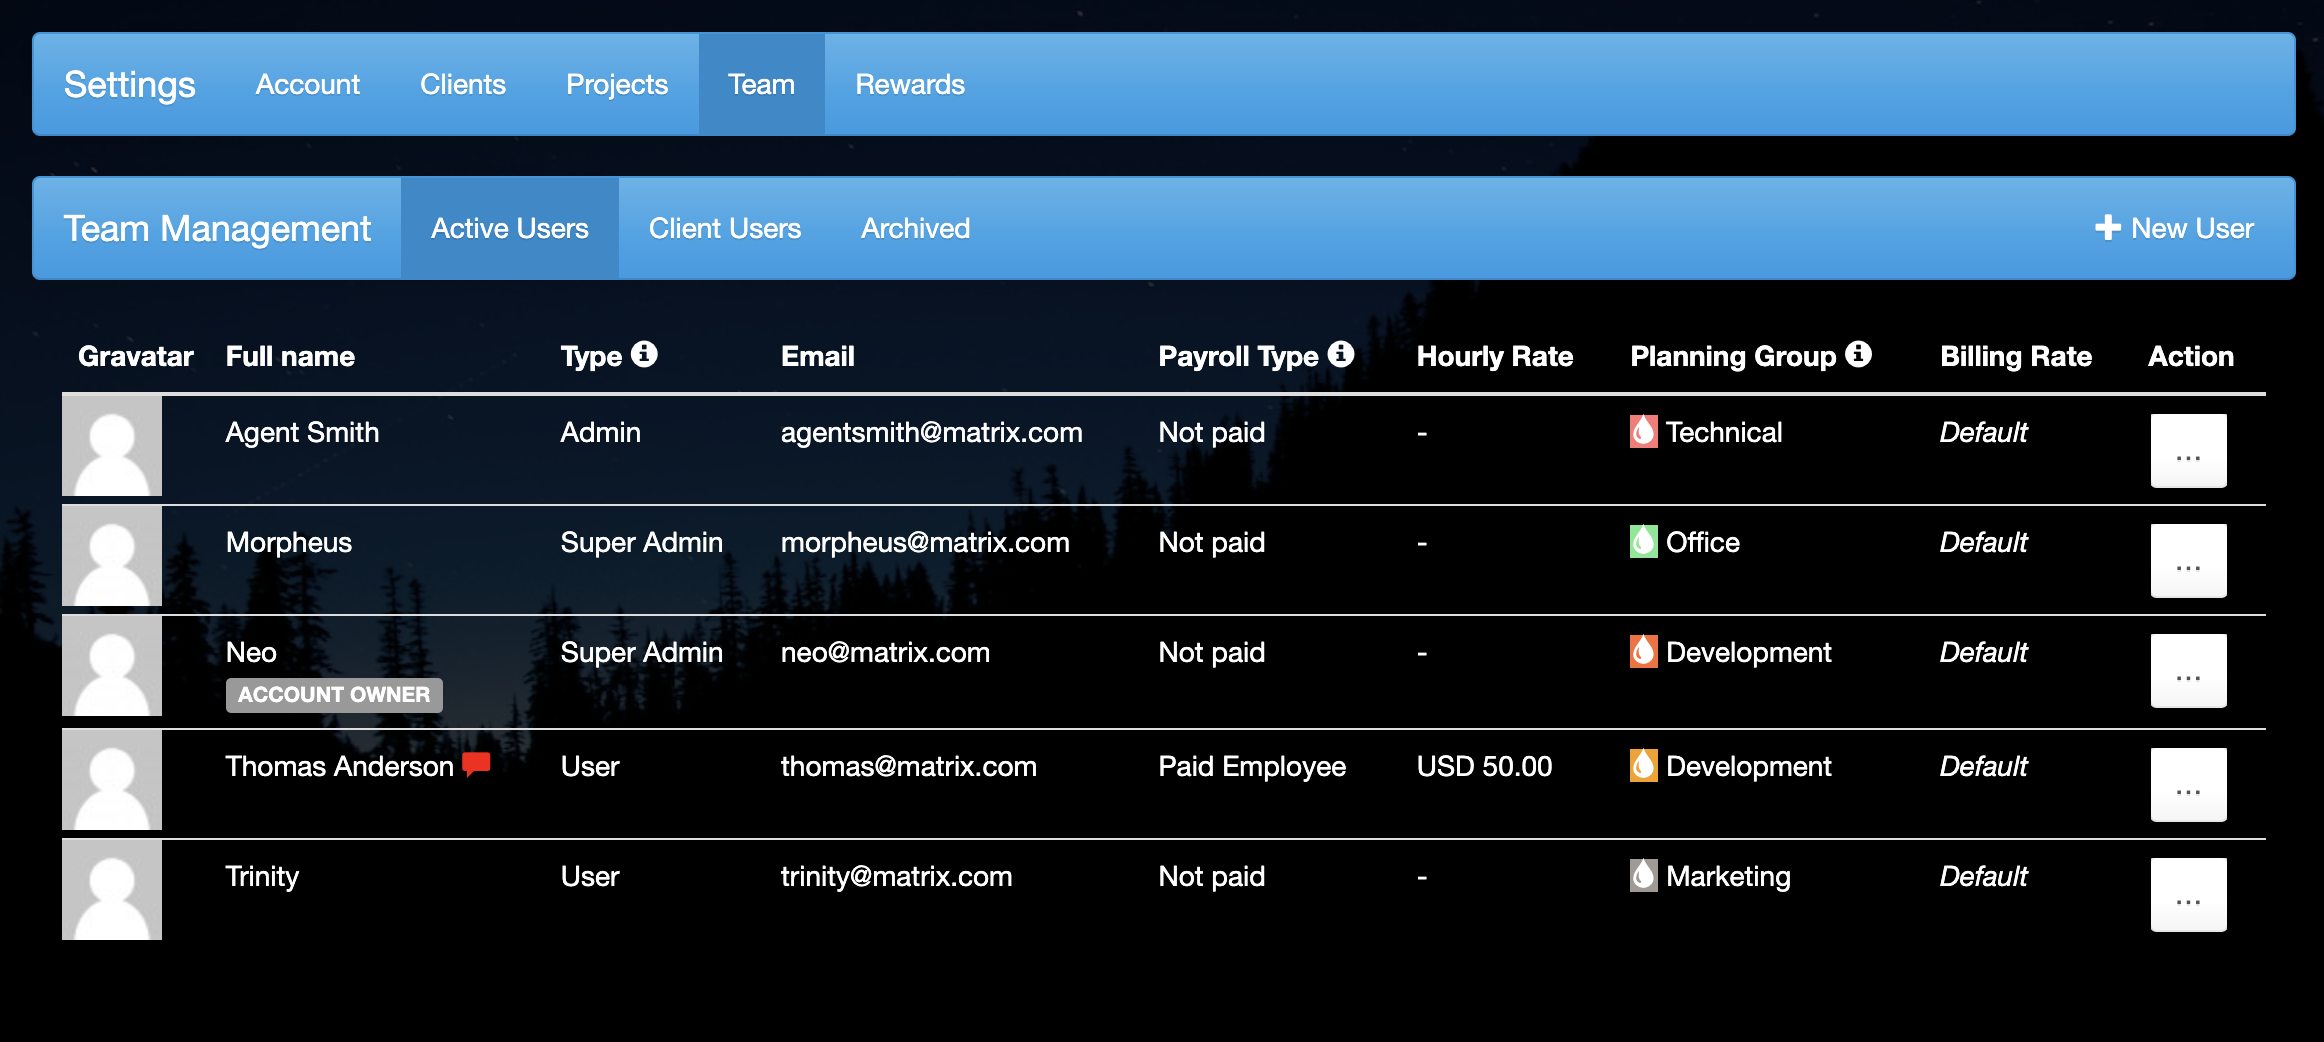
Now that you have set up the most important parts, you can visit the Settings > Team page and add your team members, so everyone can track their time for Billing and Payroll and great reports.
Next?
Now that you’re set up, you can still fine tune more settings, but you can also do that later.