Wise integration
Requirements:
- Wise Business Account. You can create an account here: affiliate link.
Setup
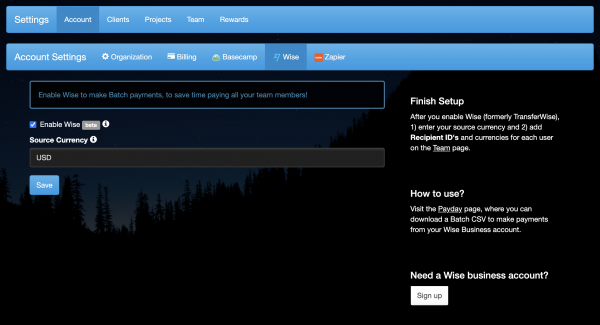
Visit Settings > Account > Wise to enable Wise.
The Source currency is a three letter currency code that is used to make the payments from. So if you pay your contractors from a USD account, you enter USD. Alternatively you could use EUR for a euro account etc.
Update Users
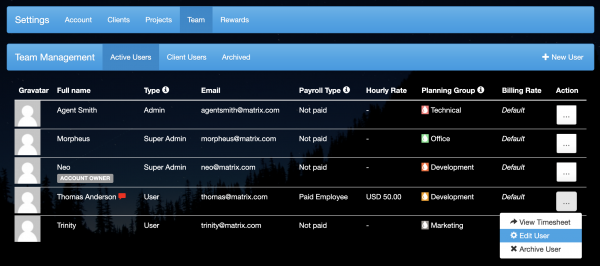
Visit Settings > Team and edit all the users that need to get paid via Wise.
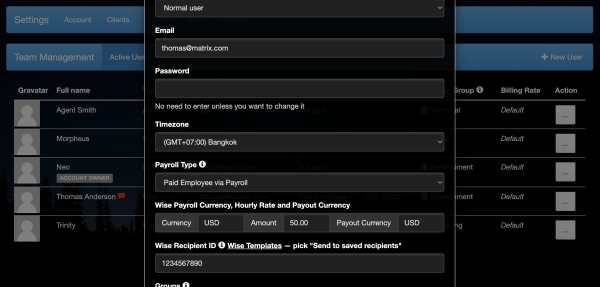
Enter their Currency and Amount, eg. if they receive $50 per hour, you enter USD and 50.
Then enter their Payout currency, for example, if they get paid in Indian Rupees, you enter IDR as the payout currency. This is the currency of their bank account.
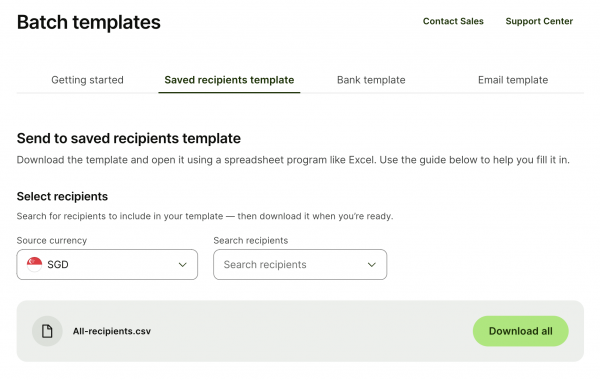
Then enter their Wise Recipient ID. You can find out by downloading this file on Wise: Saved recipients template.
Note: the name on Timesheetr must match their name on Wise exactly. That’s an extra check from Wise to make sure you pay the right person.
Paying with Wise
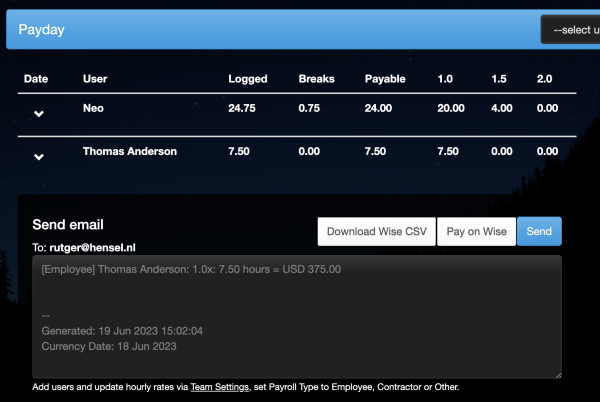
From the menu, select Payday. Select the period for which you want to make the payments (and press OK next to it). Verify that all information looks good and is in alignment with your expectations from other independent sources.
To download the payments file, just click the Download Wise CSV button.
Then click Pay on Wise, which takes you to the Wise website, where you can upload the file and make all payments. Before you make the payments, verify carefully that all information is correct.
Warning: Never make a payment unless you have completely and independently verified that the information is correct. This includes verifying the User ID information, the pay rate, the conversion factors.
