Zapier integration
This guide is under construction.
The Zapier integration is in private beta. To join the private beta, please contact support with your email address where we can send the invite.
Zapier Triggers
A trigger is an event that starts a Zap. Once you turn on a Zap, Zapier will monitor for that trigger event.
- Bill Projects: Triggers when an admin wants to bill one or more projects into a single invoice.
- New Project: Triggers when a new Timesheetr project is created.
- New User: Triggers when a new Timesheetr user is created.
Please check Zapier to see the most recent available Triggers.
Zapier Actions
Zapier actions push or put new data into apps through API calls that pass data from user customized input fields. Action steps in Zaps can create new items in an app or update existing items with a create action, or find existing items in an app with search actions.
- Create Project: Creates a new Timesheetr Project.
- Create User: Creates a new user.
- Create Client: Creates a new client.
- Create Planning: Creates a new planning item.
- Create Todo: Creates a new todo.
Please check Zapier to see the most recent available Actions.
Setup for any integration
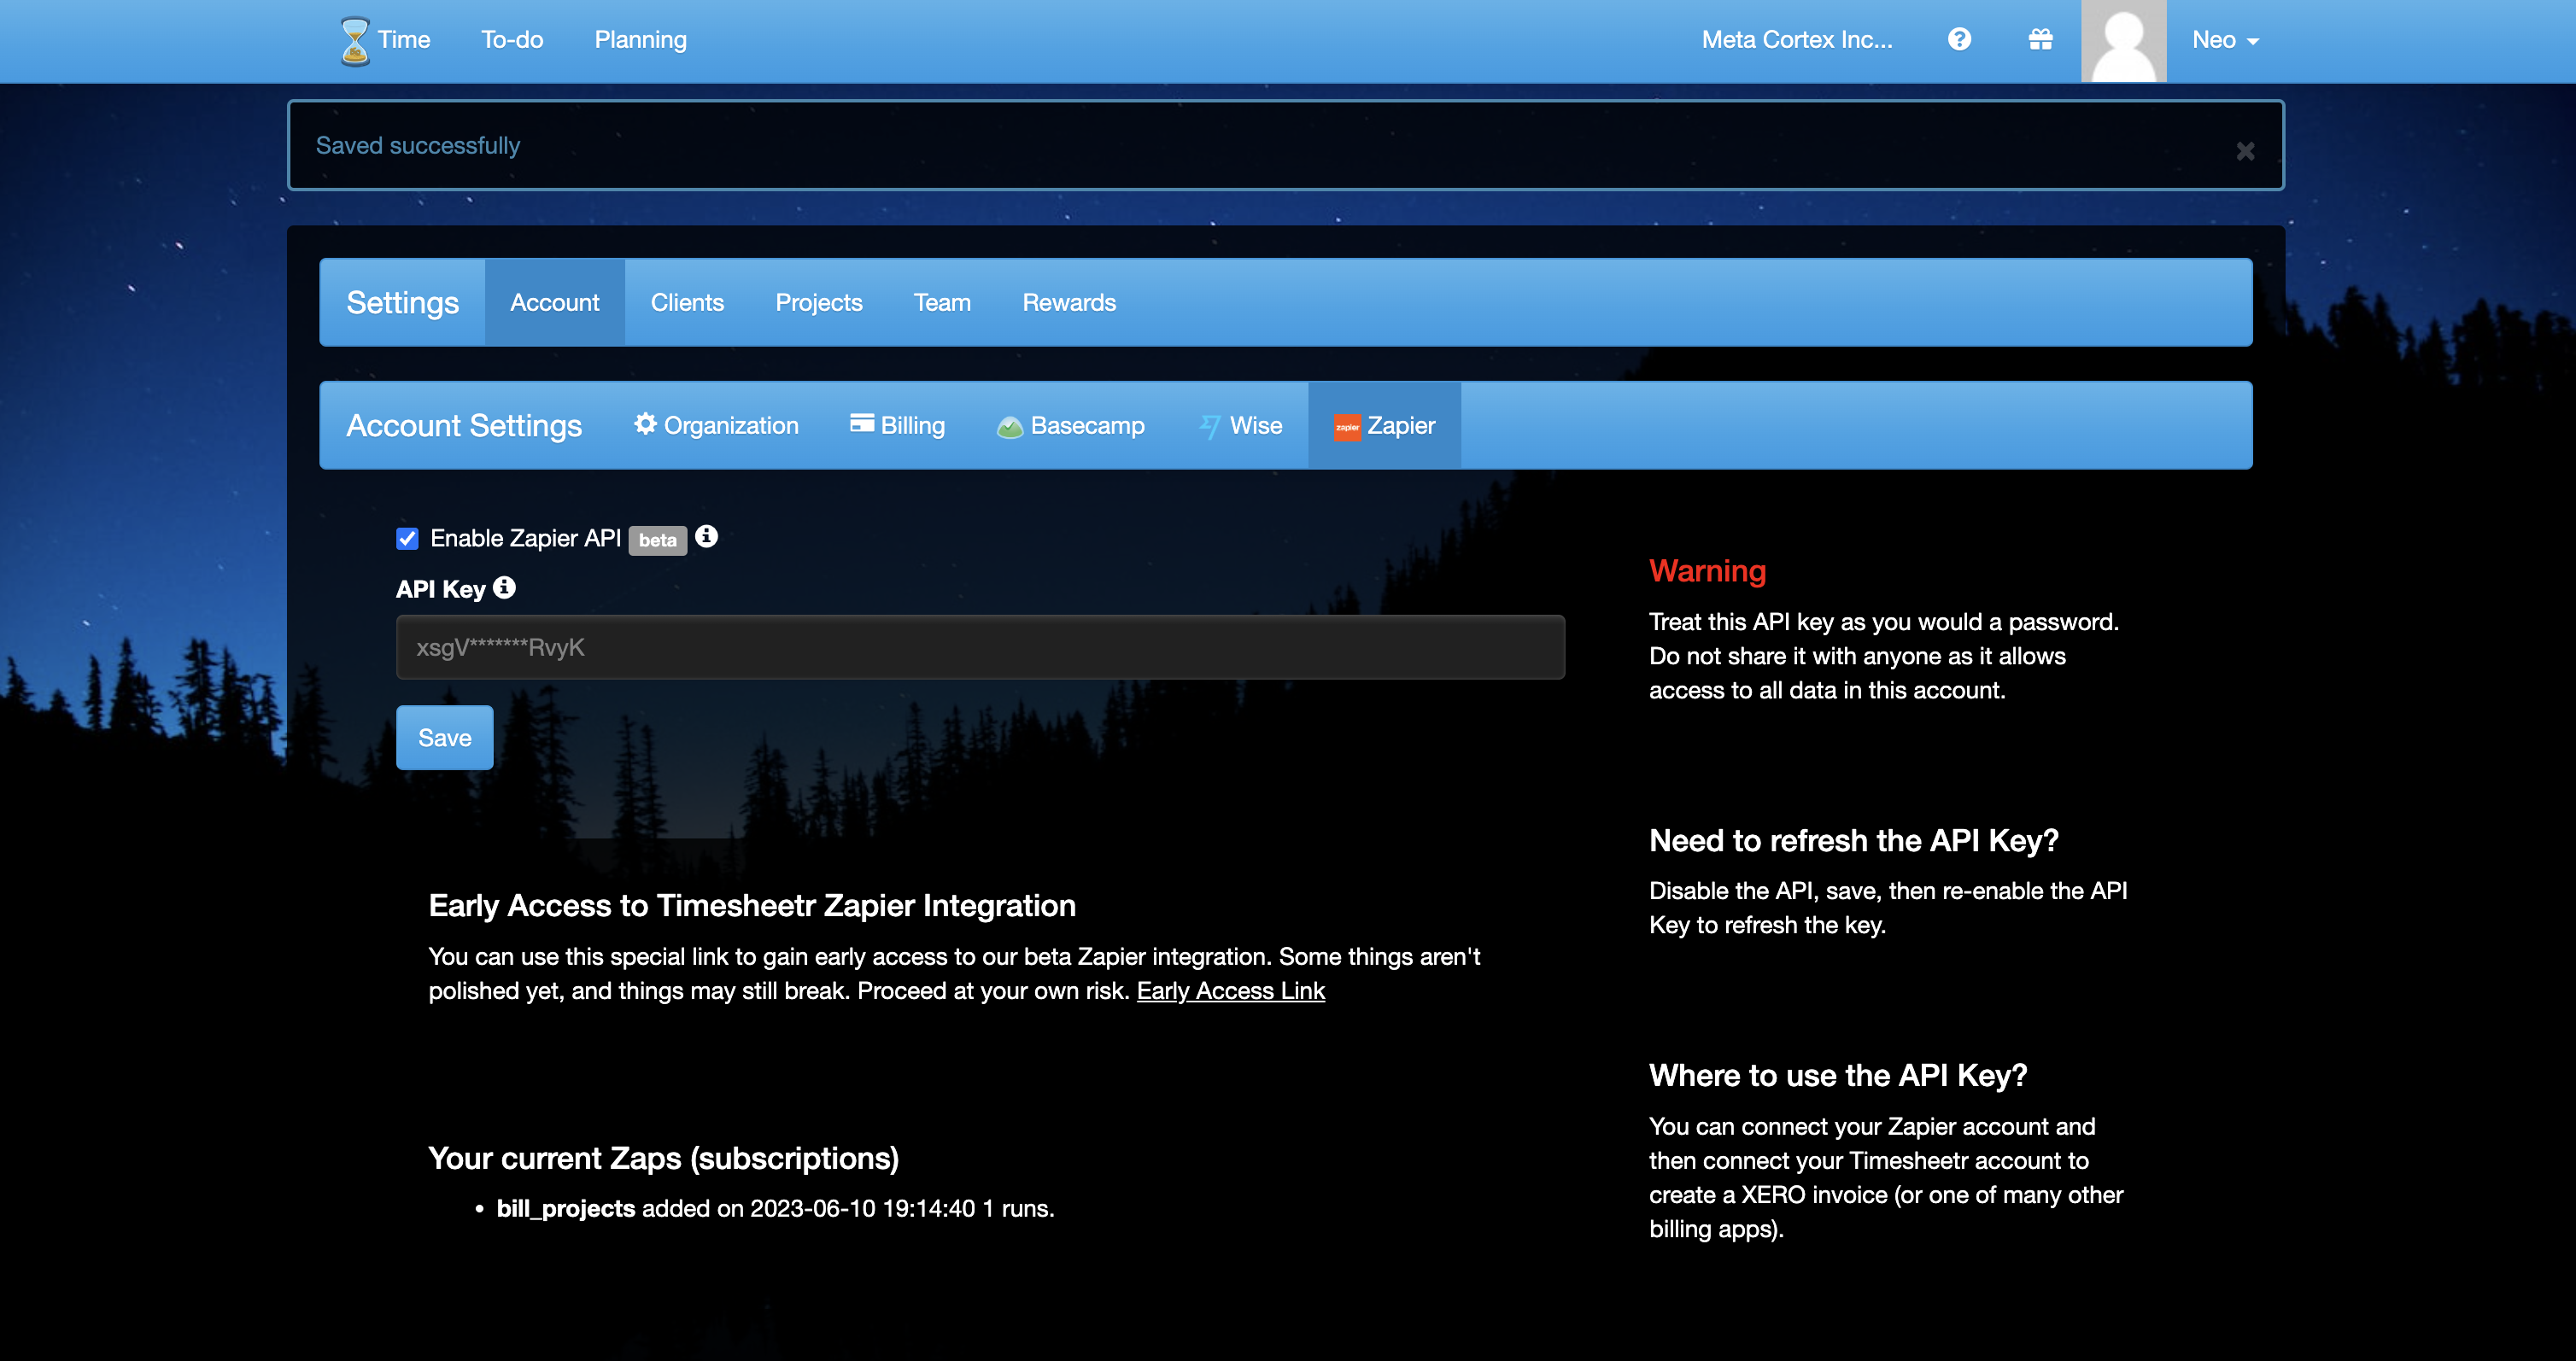
Visit Settings > Account > Zapier
- Enable Zapier and copy the api key. It will only be shown once. If you lose the key, you can only generate a new key, but disabling and then enabling the Zapier integration.
- Important: Treat the api key like a password. Keep it safe. Anyone who has your api key can read certain data from Timesheetr as exposed by the api.
Create a new Zap for the Billing integration
Visit Zapier and create a new Zap.
Below we have two examples:
- For Invoice Ninja and
- For Xero (click to scroll down)
You can create similar Zaps for your own billing software. We appreciate your feedback if there are other steps required to make it work for your specific integration.
Example for Timesheetr <> Invoice Ninja
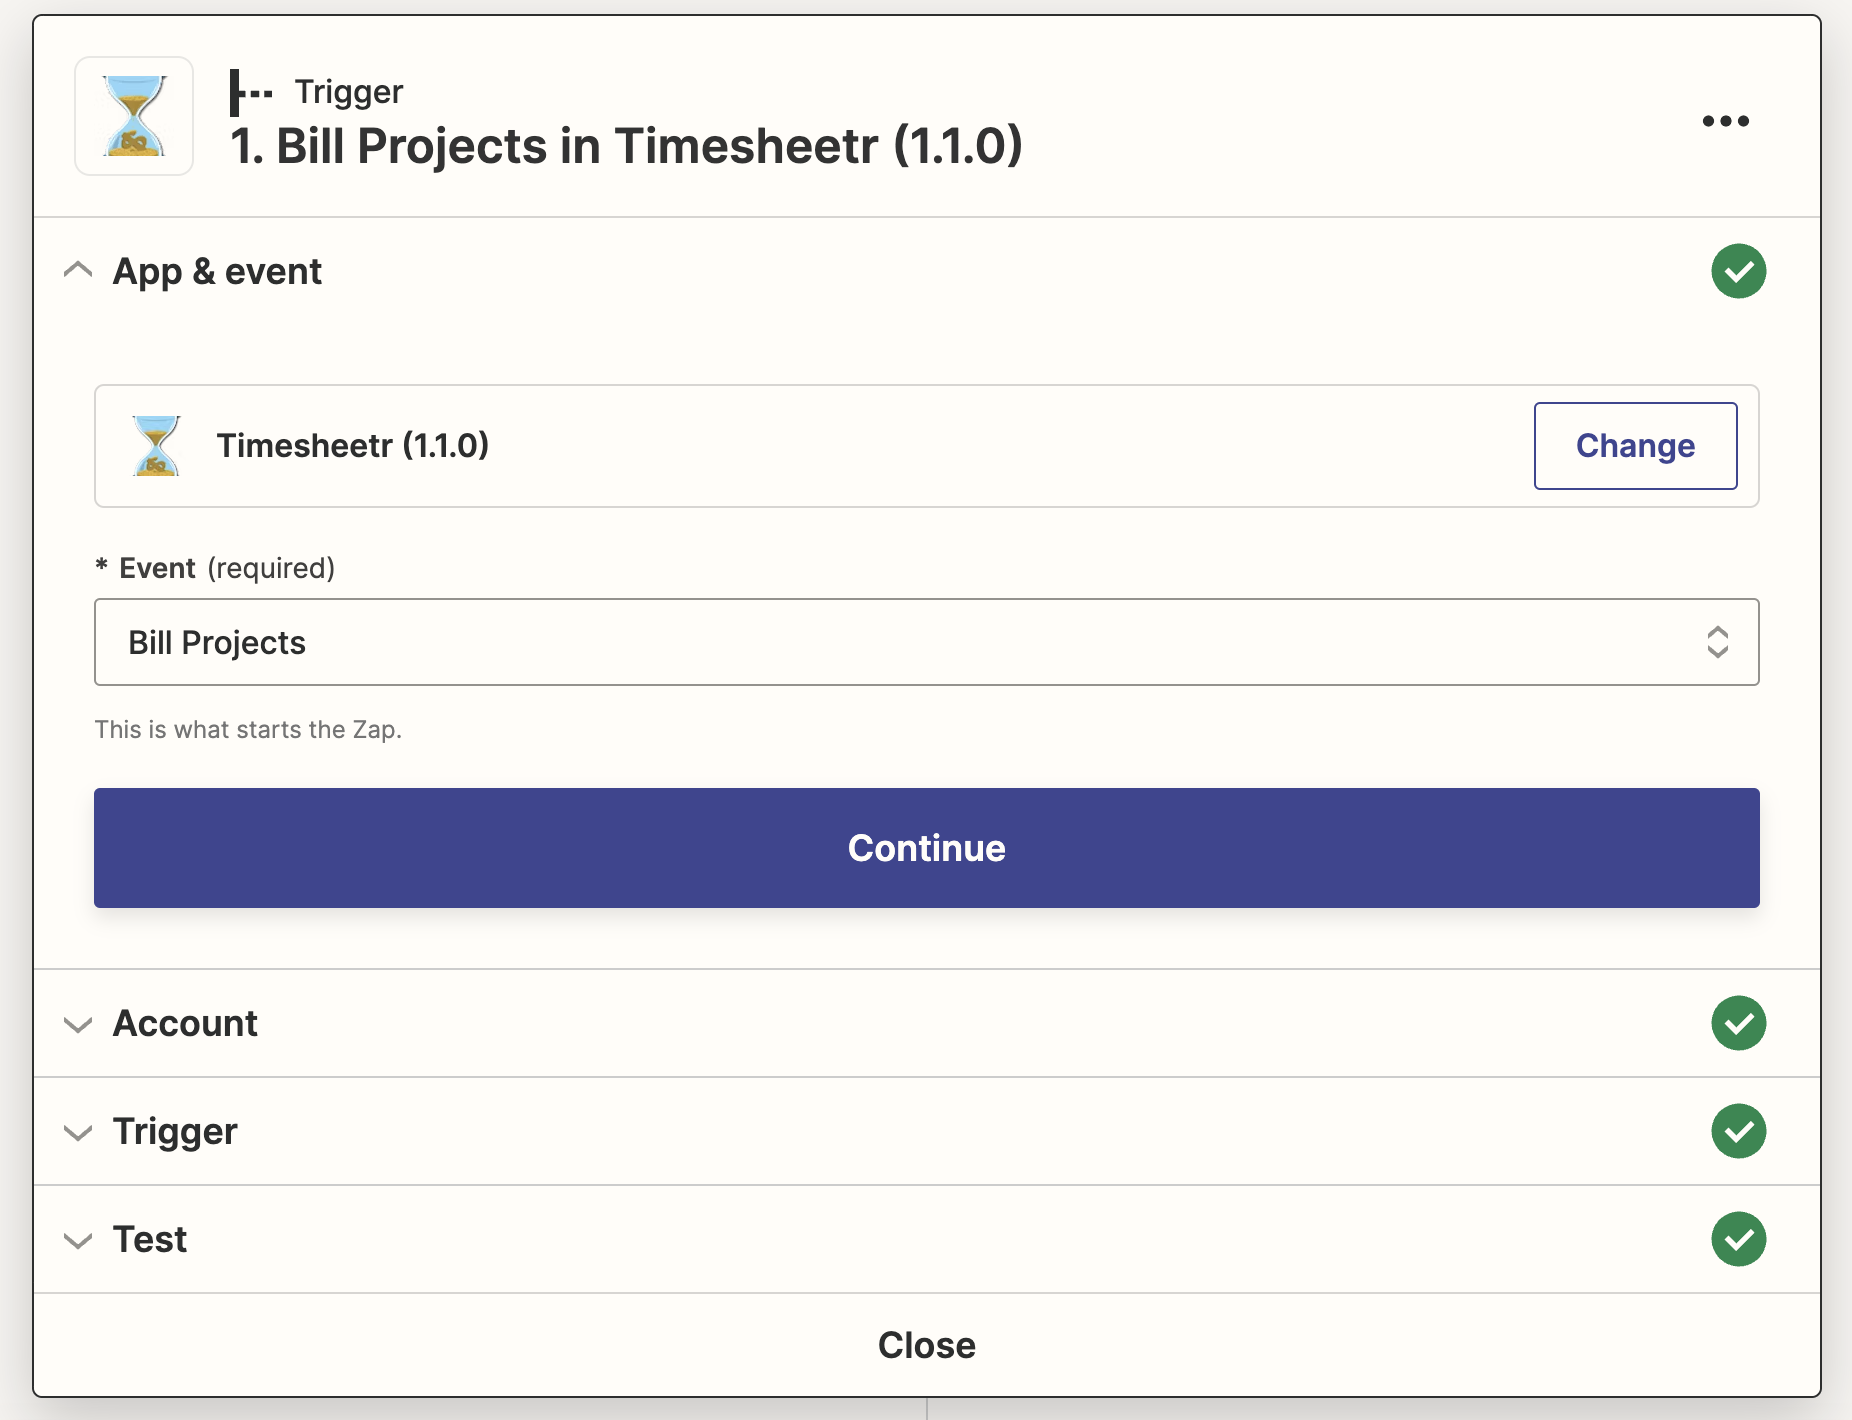
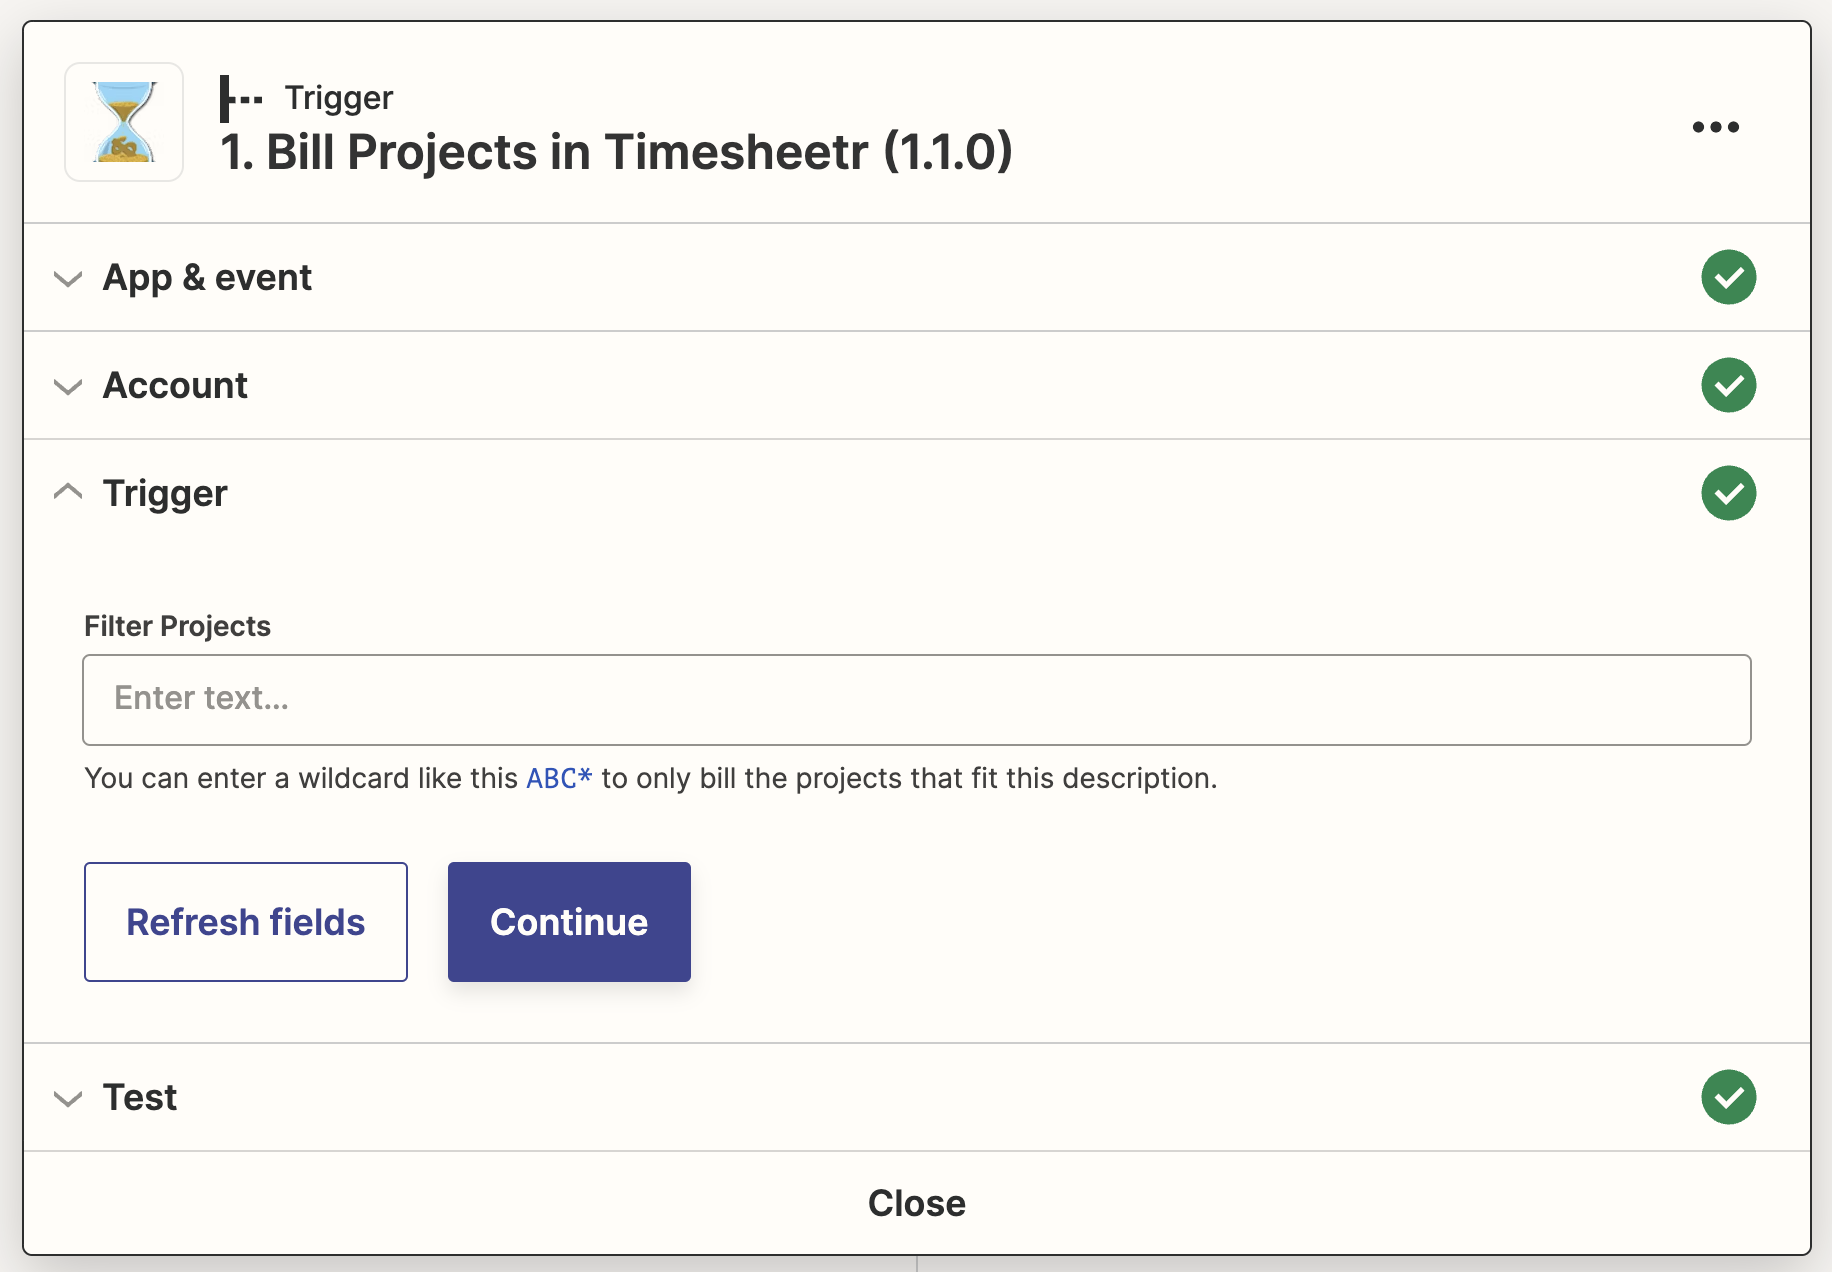
1. Select Timesheetr as the Trigger.
Since you cannot select Timesheetr as a Trigger in Zapier while it’s in beta, you need an invite. Please contact support, so you can be invited.

2. Select Event Bill Projects
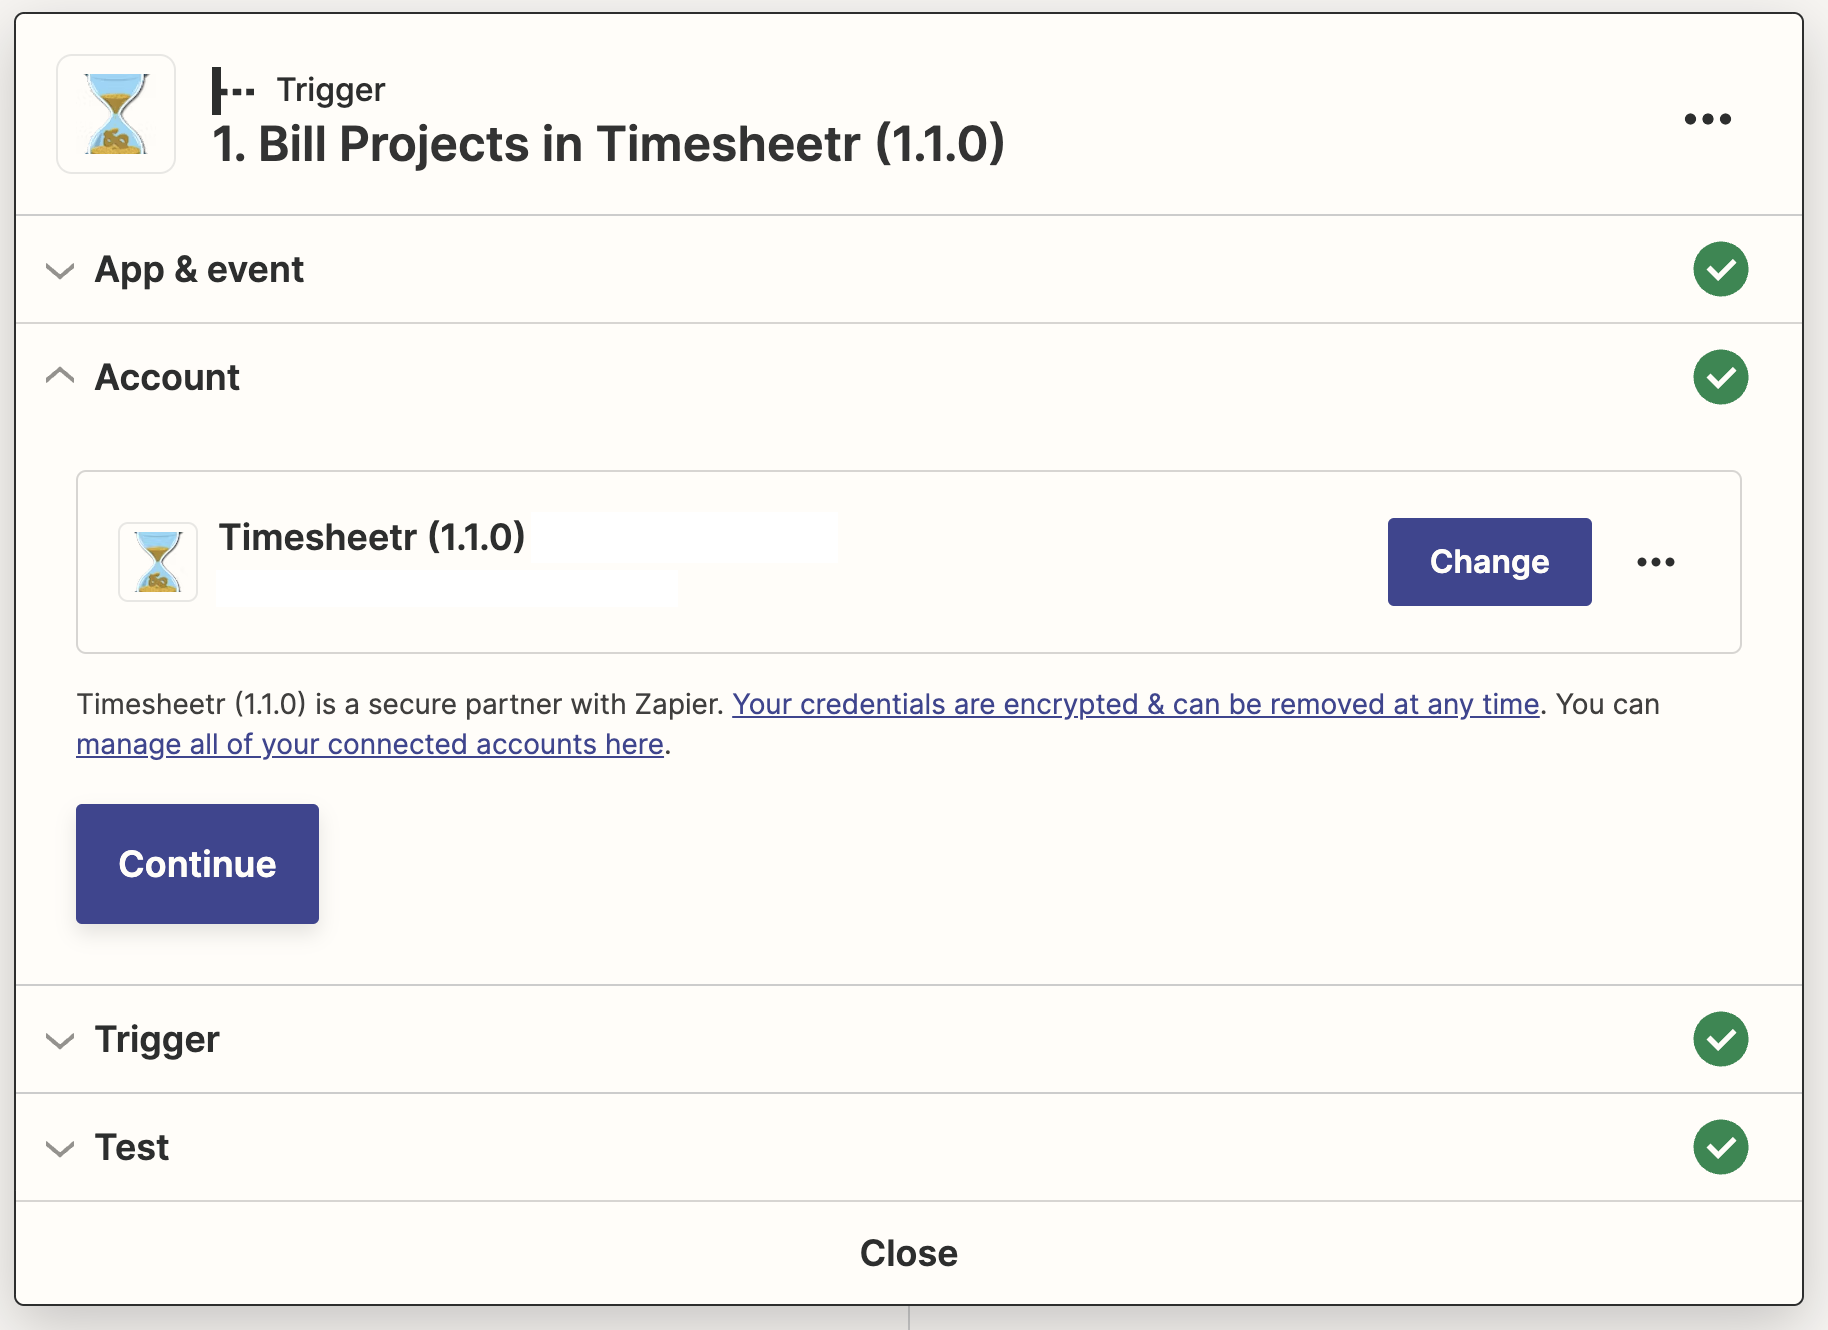
3. Select Account
Enter the api key when asked.
4. Filter Projects (optional)
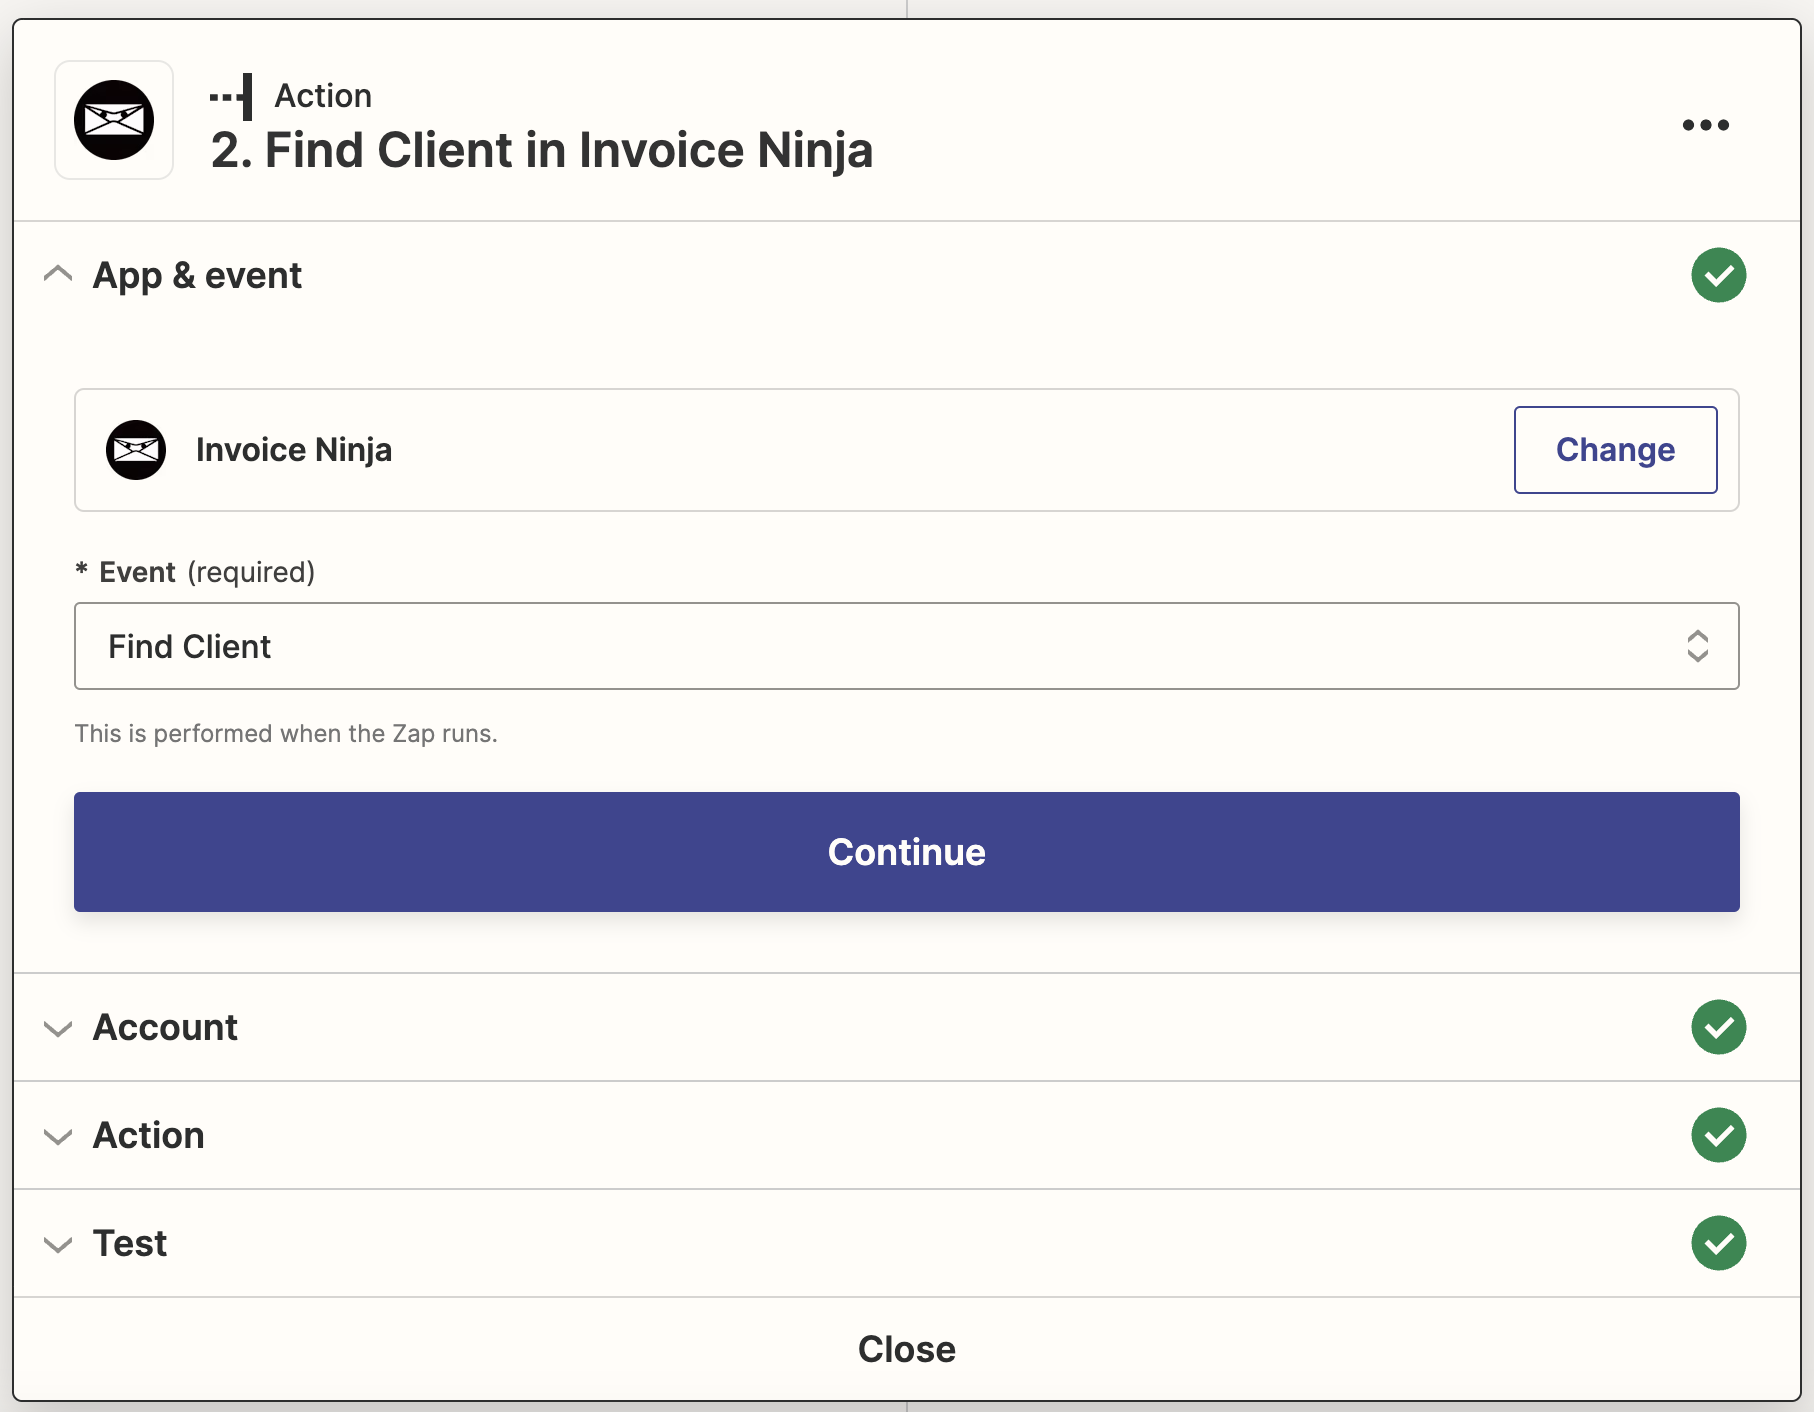
5. Select Event Find Client
>> If you want to follow the XERO example, you can scroll down.
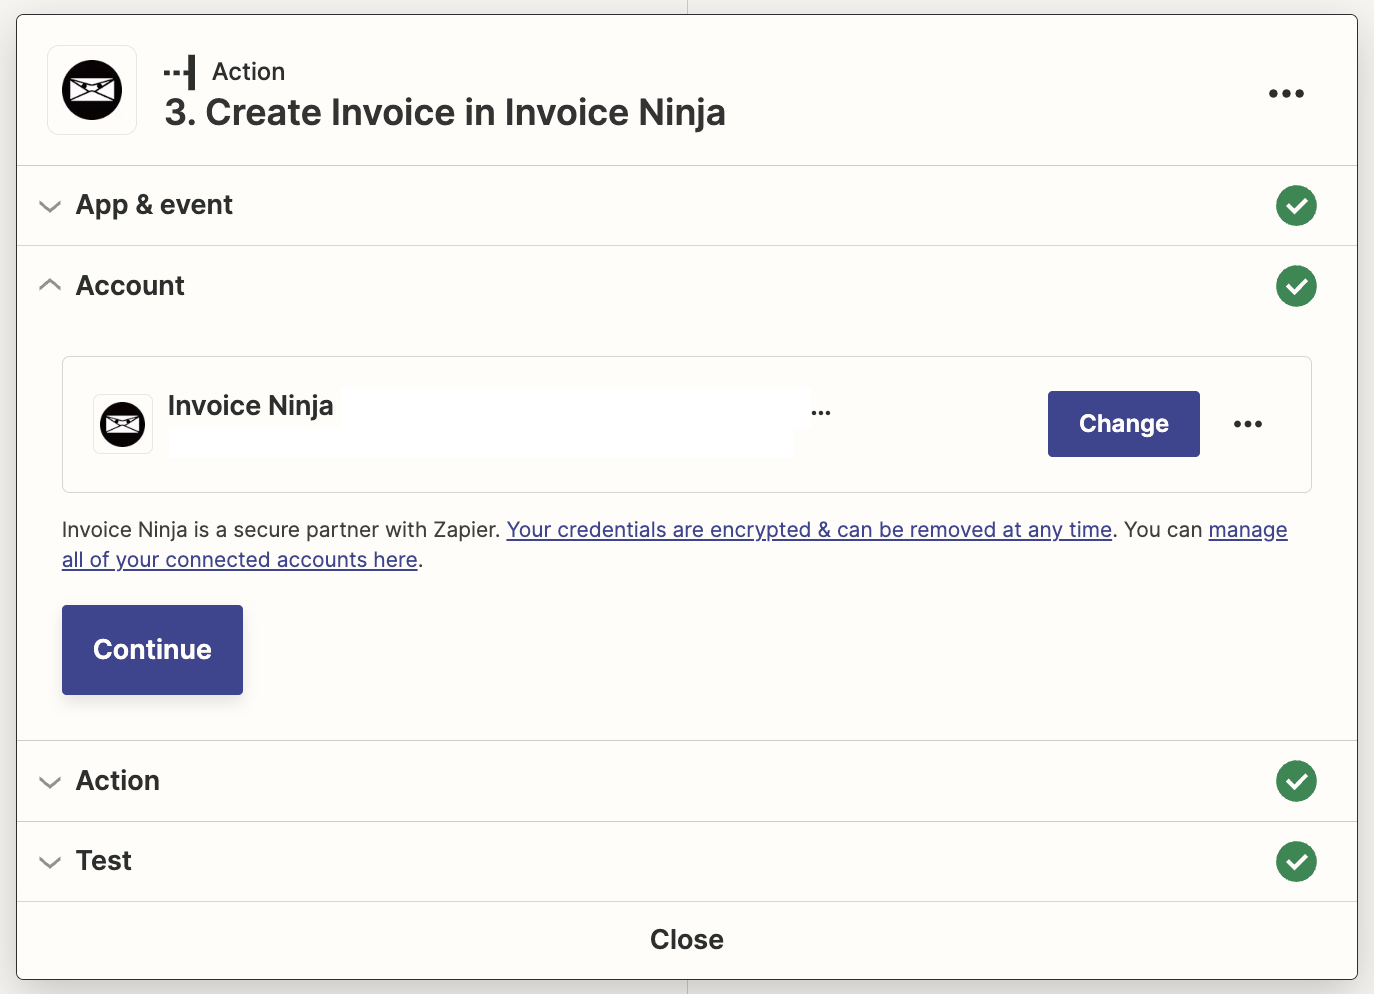
6. Select Invoice Ninja Account
Note: In Invoice Ninja, visit Settings > Account management to view/create your API key, which you need to link your account to Zapier.

7. Search Action
Search Field: Email (for other billing software, this could be another field, such as Billing ID)
Search Value: Select the Billing Email, that you can set on Settings > Clients for each client.

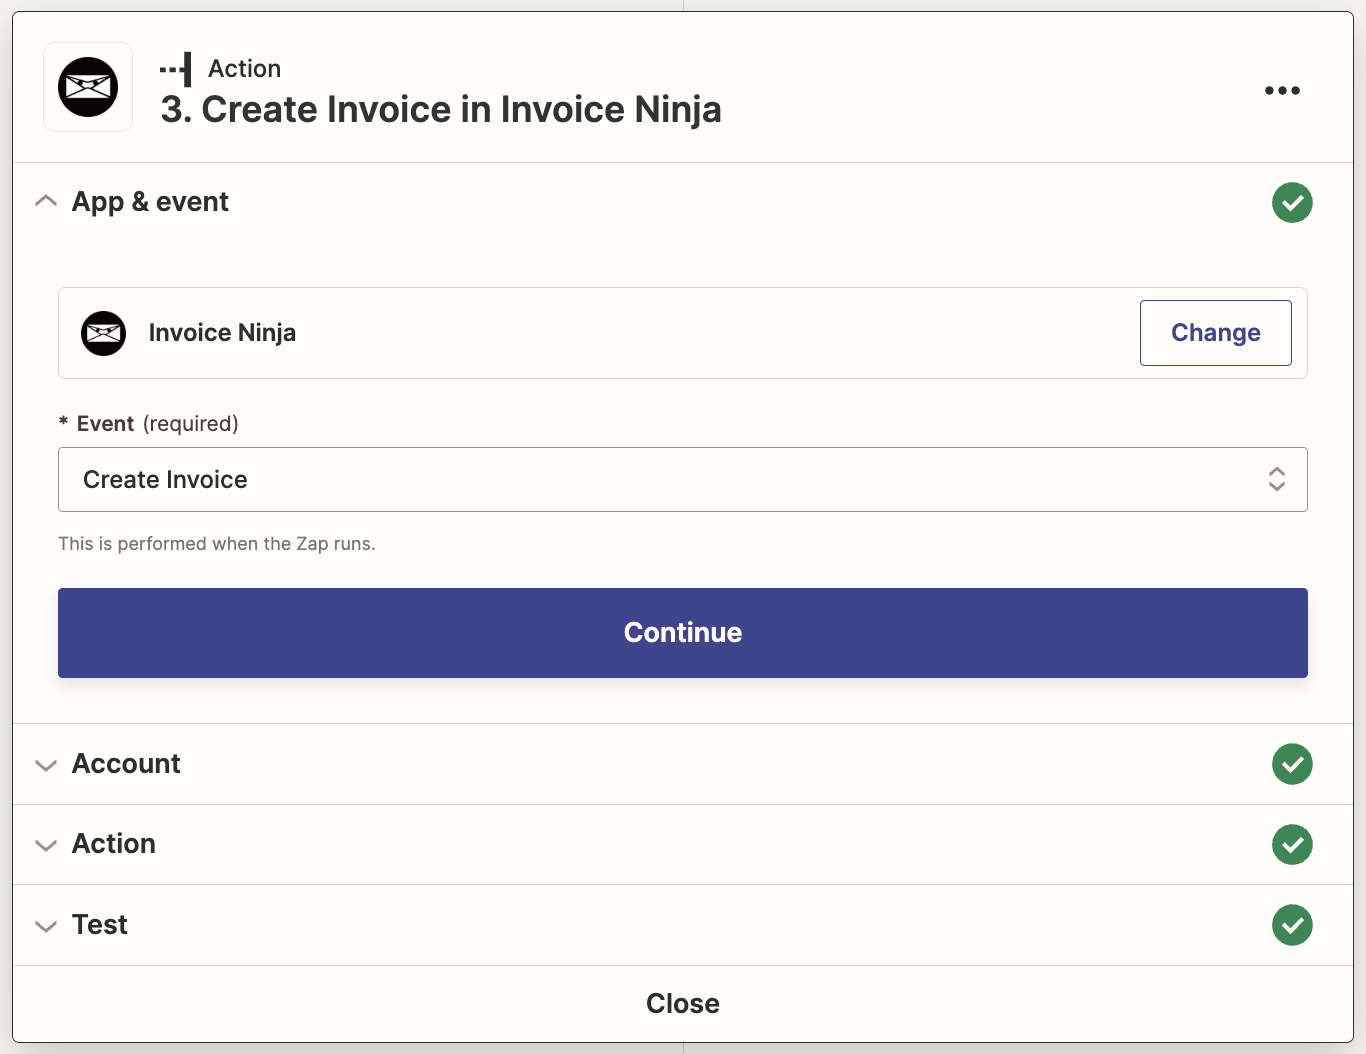
8. Create invoice
Event: Select Create Invoice
9. Select Account
10. Create the invoice
Client ID: Use the Client ID that you found in the previous step. You should be able to find it in the drop down on the Custom tab (see screenshot below). There it’s the ID under Find Client in Invoice Ninja

11. Enter additional details for the line items
Cost: Select the “price” field.
Quantity: This is the number of hours, select the “quantity” field.
Product: Type the item name or product, for example “Web development” or “Design”. You can follow the product names that you have defined in your billing software.
Description: Select the “description” field.
There are many more (optional) fields available, but you can mostly leave them blank.
Example for Timesheetr <> XERO
For XERO, you can use the same steps 1-4 from Invoice Ninja above, then continue here.
Notes:
- There are less steps for XERO, because we don’t use the extra search step, as XERO allows using a Billing ID, whilst Invoice Ninja requires finding the client by email.
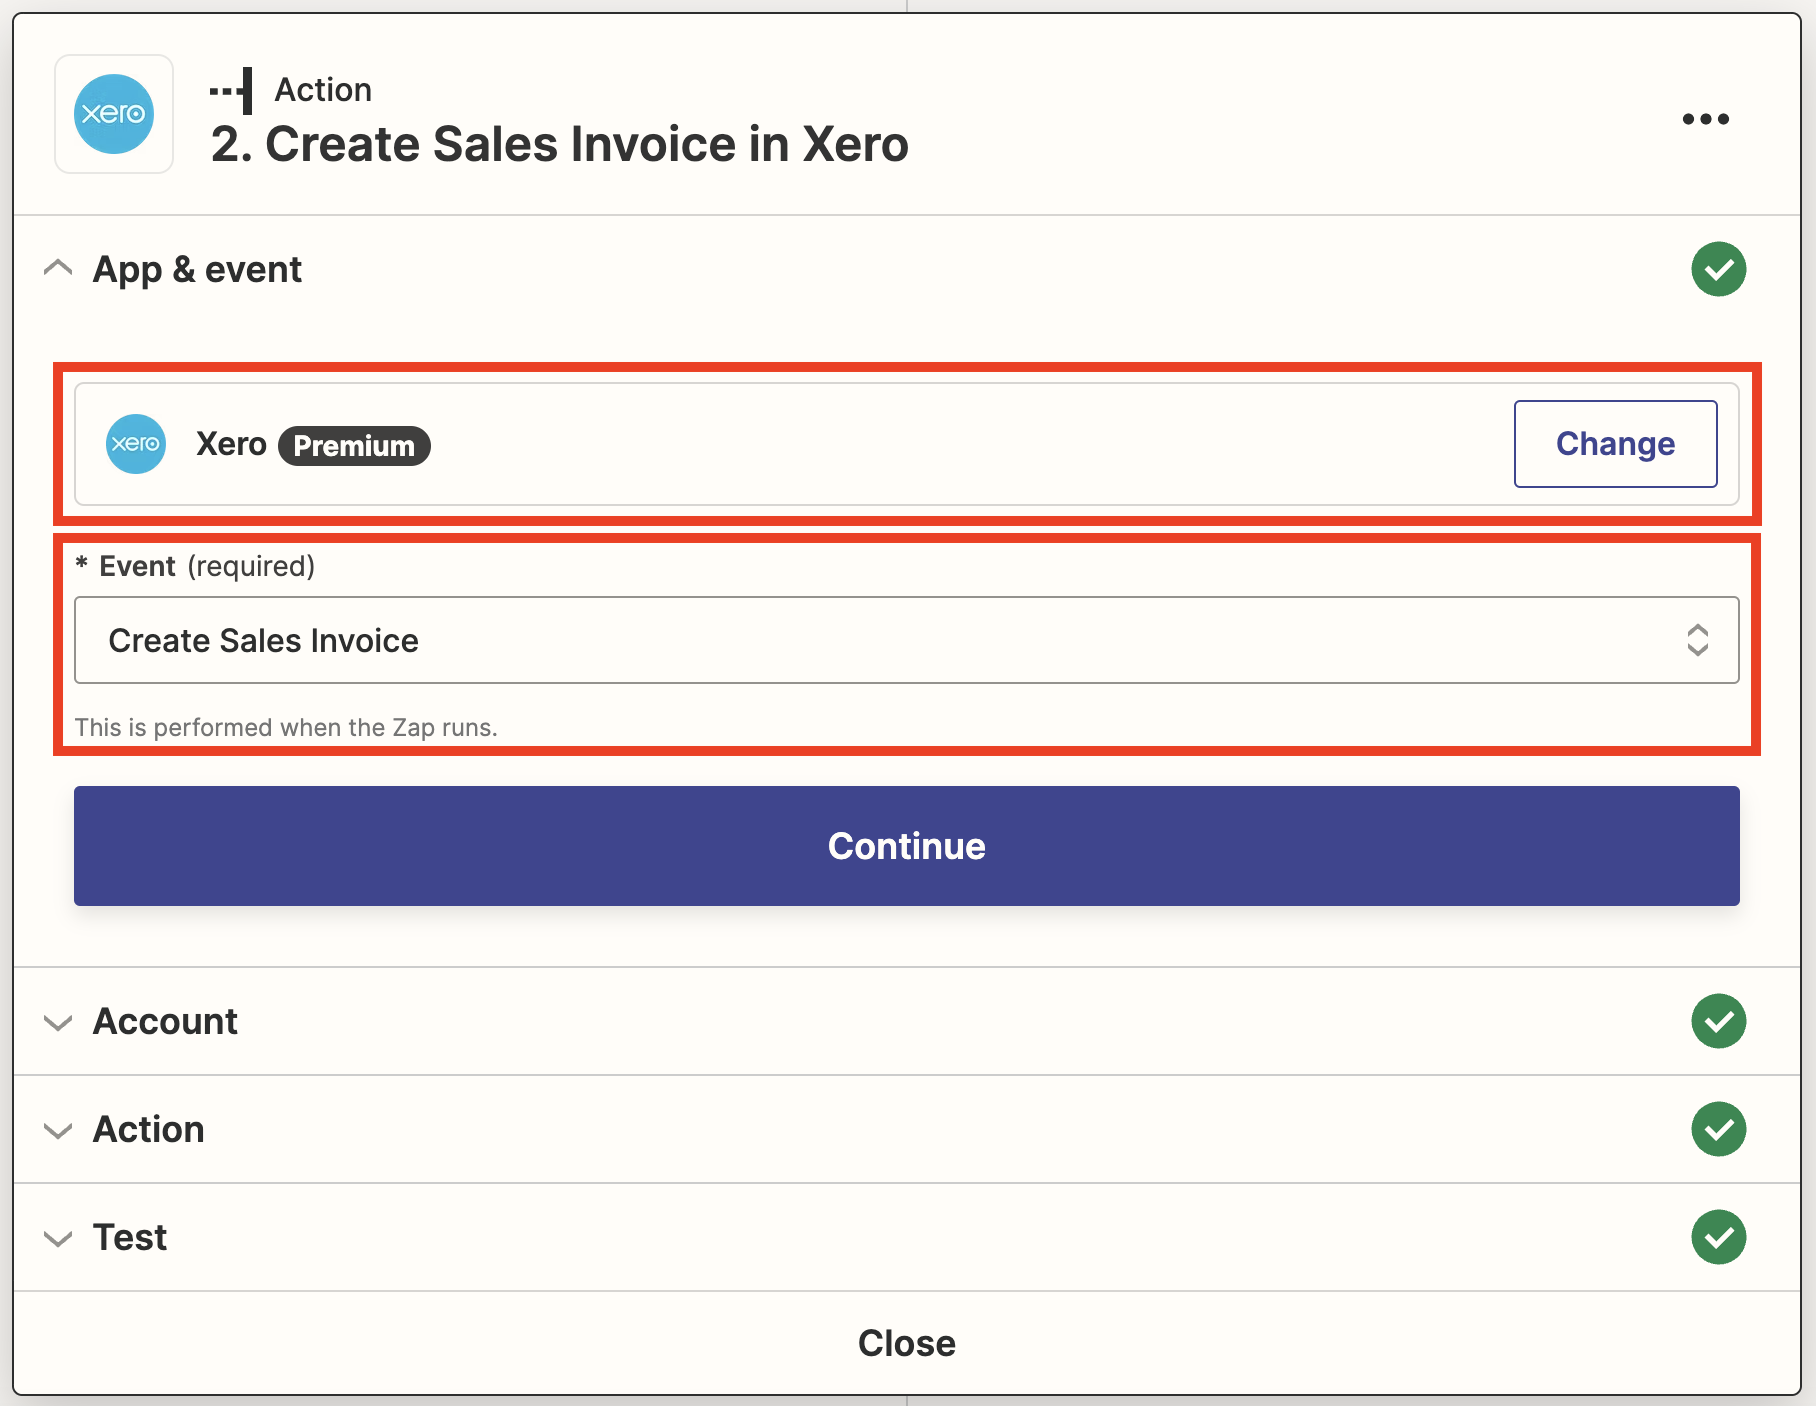
5. Select XERO (premium) as the Action
Event: Create Sales Invoice
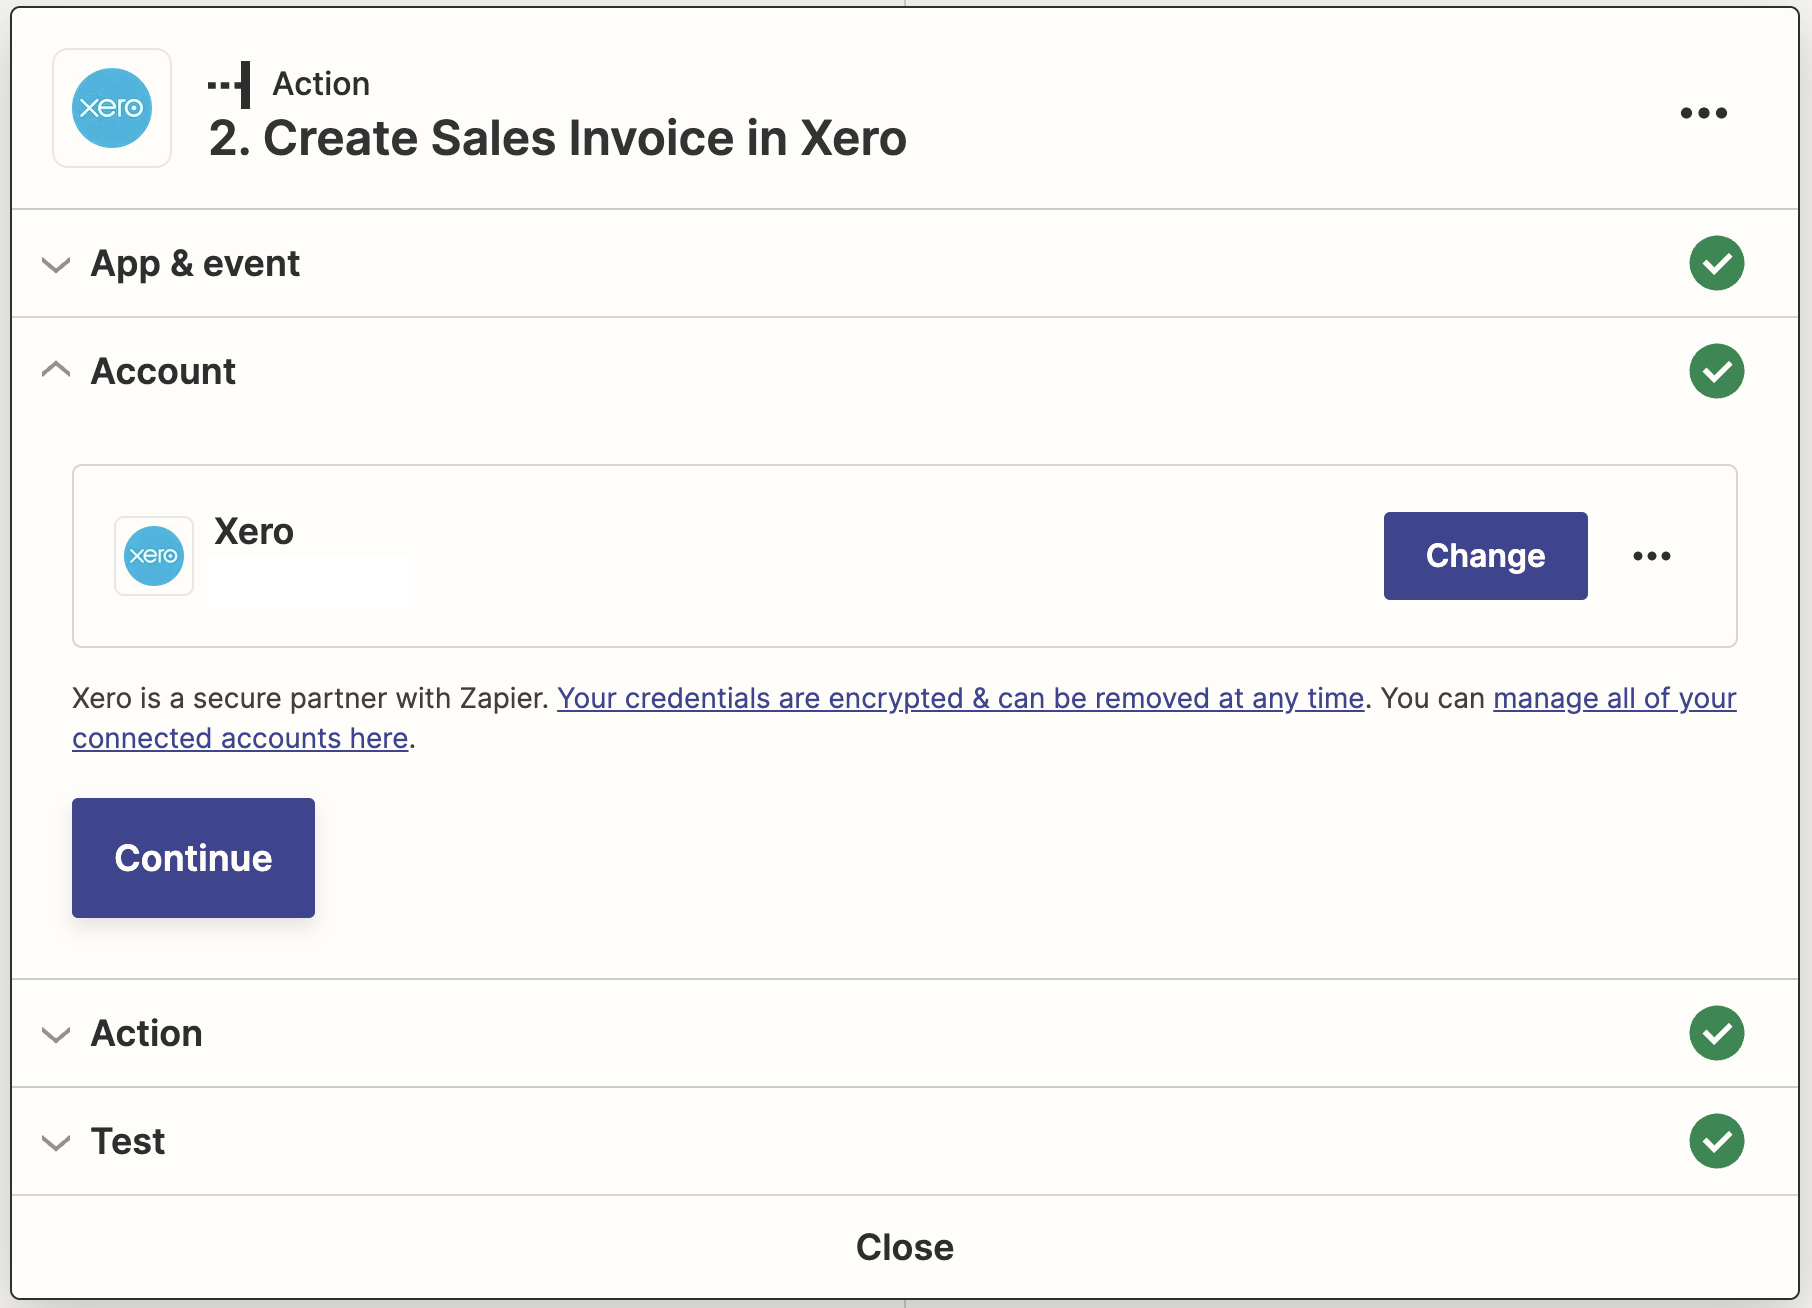
6. Select the XERO account
Account: XERO implements oAuth, so you can simply click and authorize Zapier to access your XERO data.
7. Create the invoice
Organization: Select the XERO account from the dropdown.
Contact Name: Select the Company Name. This comes from the Settings > Clients data in Timesheetr.
Status: Select Draft, this allows a (highly recommended) review of the invoice, to check the details that your team added are correct and suitable for the invoice.

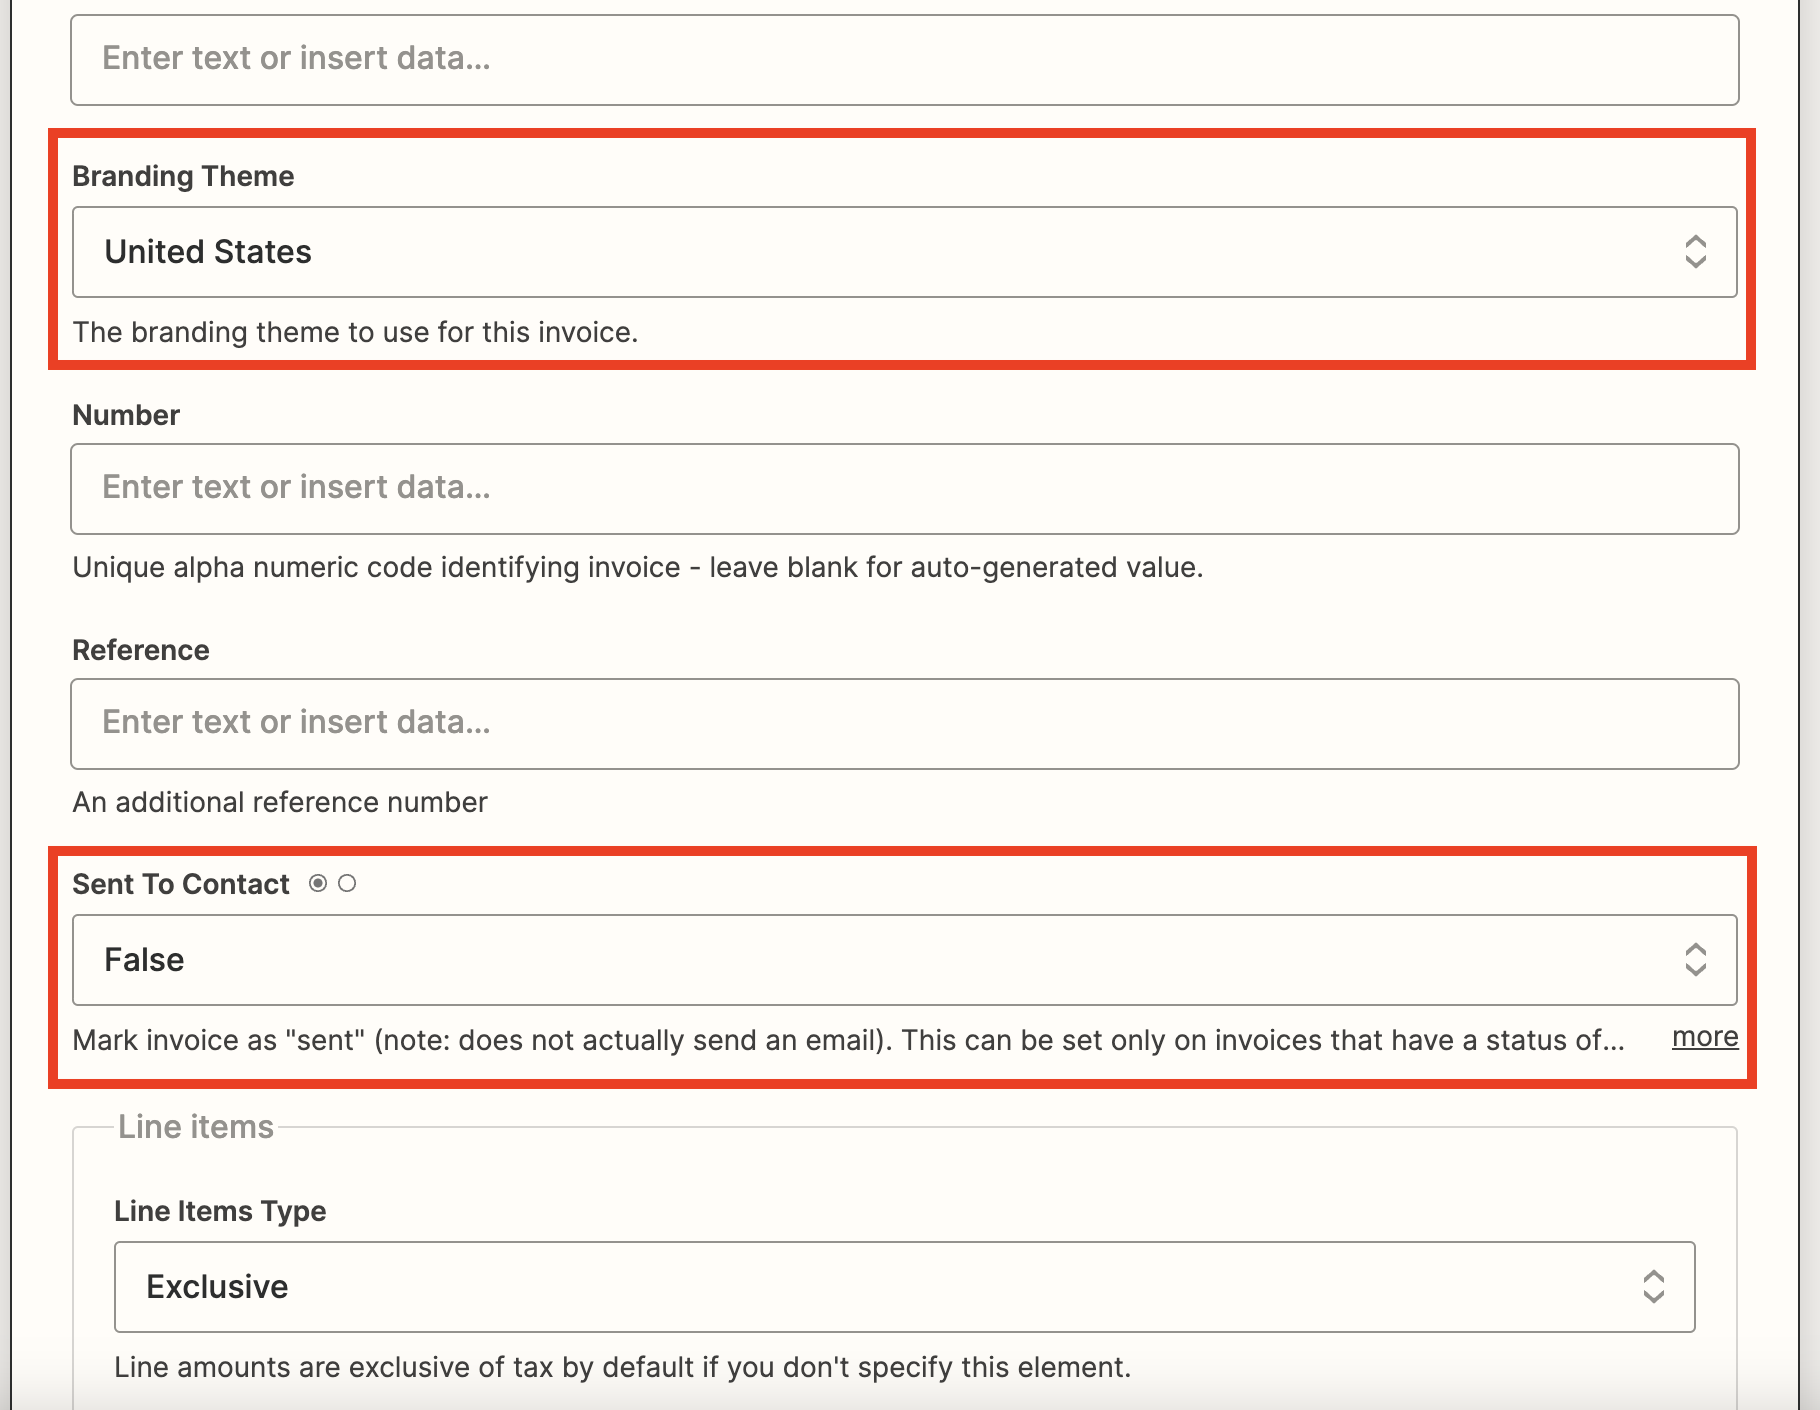
8. Continue adding more details
Branding Theme: If you have any, select it here from the dropdown
Sent to Contact: Select False. Note: in this case, it means the sent status, not actually sending. But even if it was, we never recommend sending anyway, as every invoice requires a manual review.
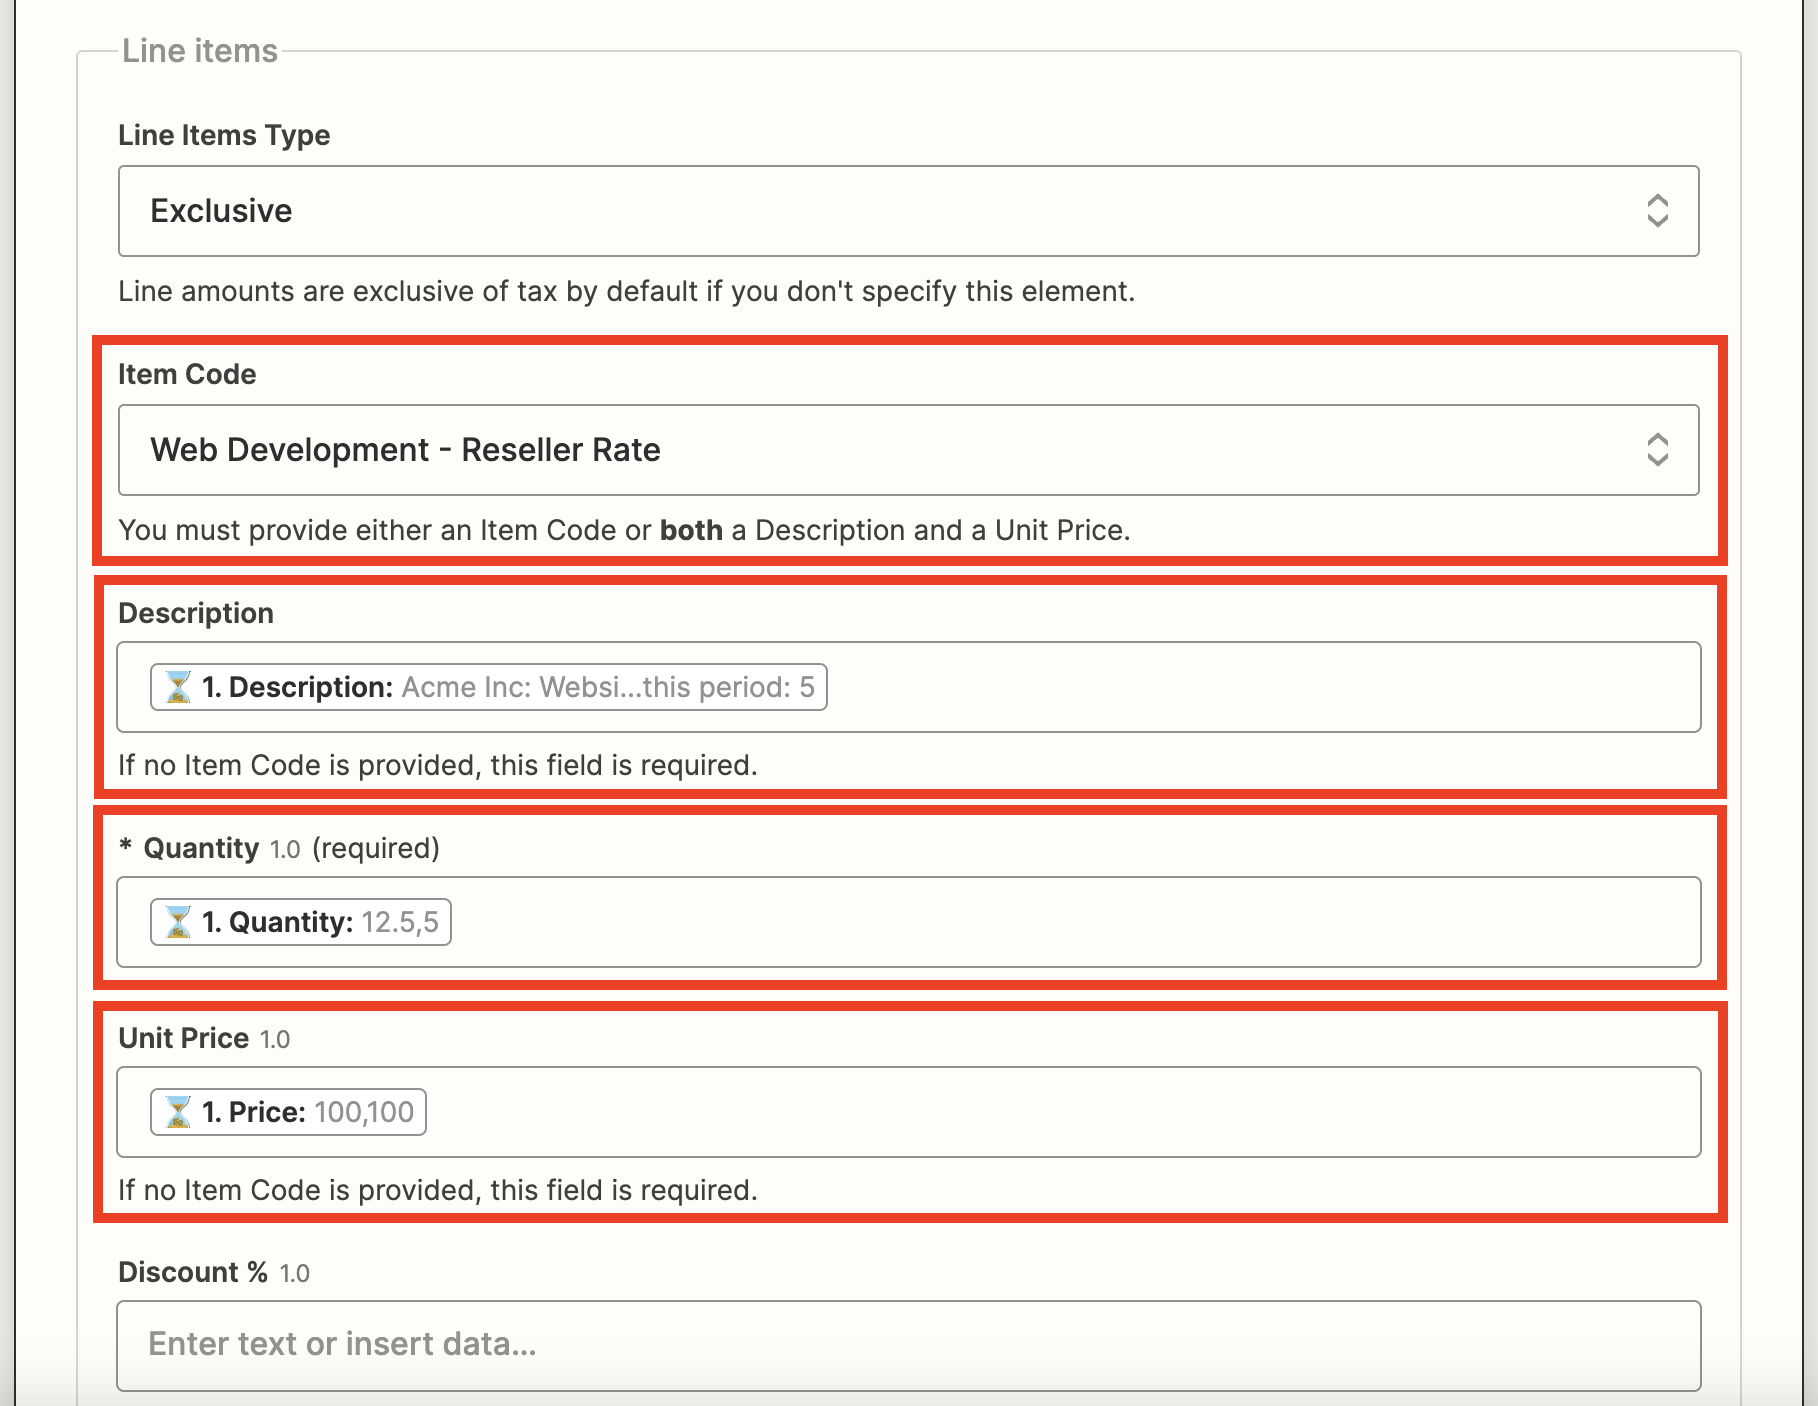
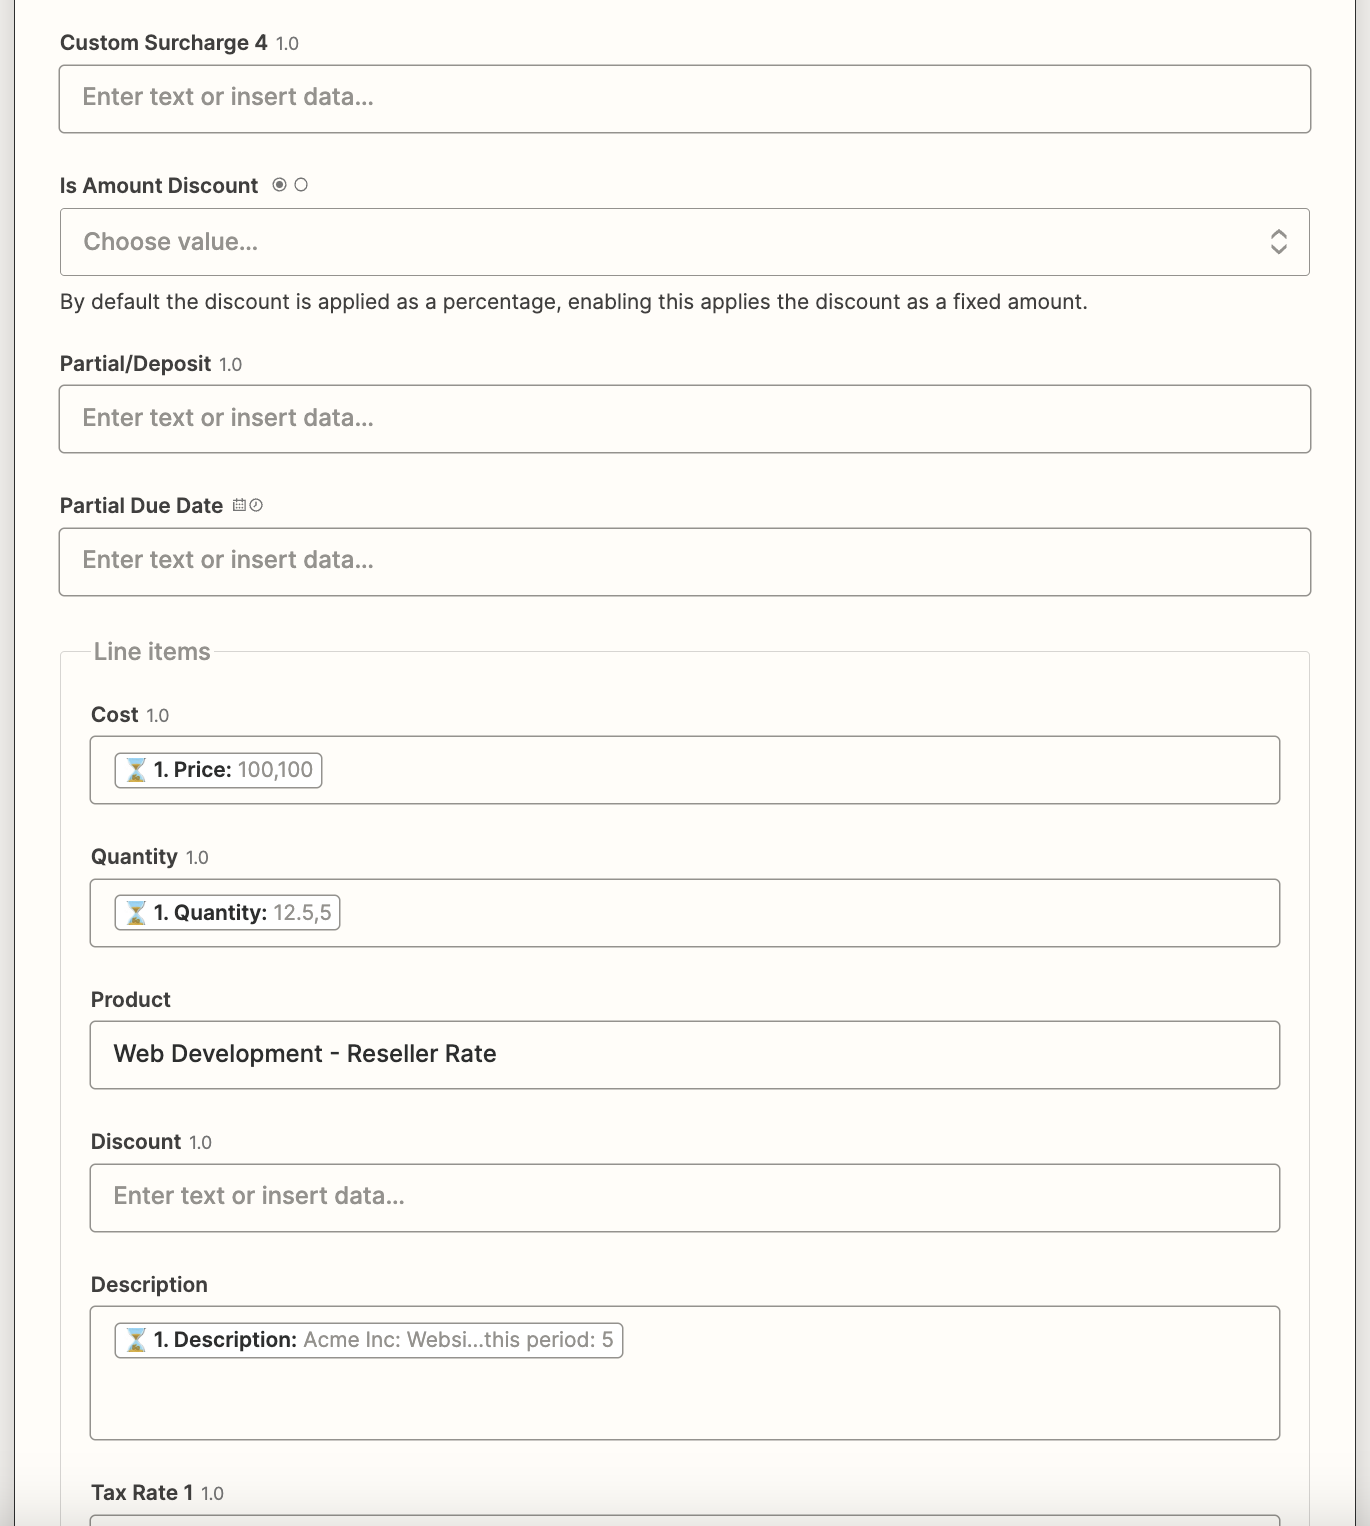
9. Fill out the line items
Item Code: Enter an item that already exists on your other invoices.
Description: Select “description”
Quantity: Select “quantity”
Unit Price: Select “price”